| You can help Mass Effect: Andromeda Wiki by uploading an image for this article: Representative pic for the top right of a loading screen.
If the image request has been addressed, please edit this page and remove this notice. It will start with |
If the image request has been addressed, please edit this page and remove this notice. It will start with
{{Imageneeded and end with }}.Loading screens are shown during the process of loading a game. These screens give technical information and tips on gameplay.
Overview[ | ]
Button configurations change based on the specific console in use but the loading tips are the same. Each place where a symbol or keyboard key would be listed on a loading screen has been replaced by (button). Refer to the controls page for detailed button configurations for the console that you are using.
The loading pictures and tips displayed are randomly chosen. There are some tips that will only appear while in singleplayer, some are only encountered during multiplayer game play.
Combat[ | ]
- The Damage Resistance stat reduces all incoming damage via a scaling formula. For instance, 100 Damage Resistance cuts your incoming damage in half.
- Consumables can help you out of a tight spot. Decide which to take with you on the Loadout screen, then access them from the weapon wheel by pressing (button).
- Some cover is destructible. Use this to your advantage while attacking enemies, but keep an eye on the state of your own cover.
Enemies[ | ]
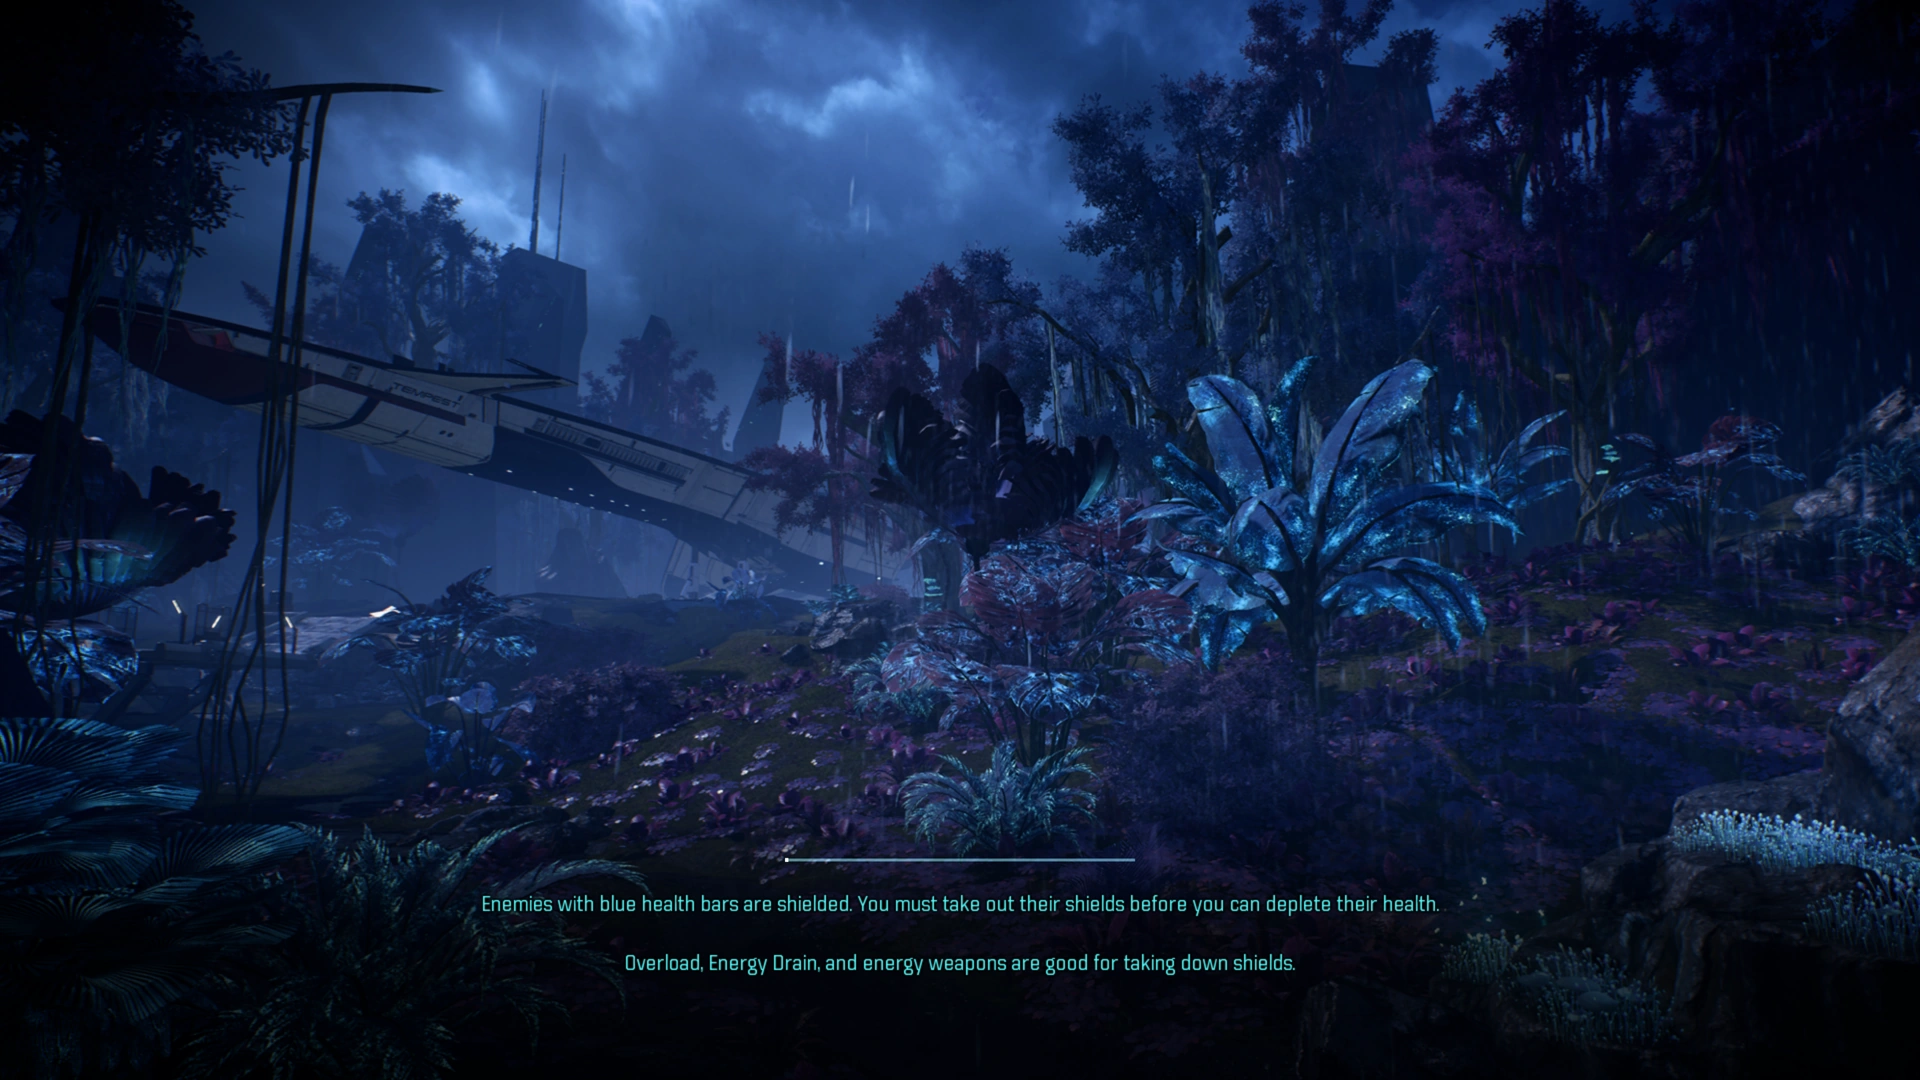
- Enemies with blue health bars are shielded. You must take out their shields before you can deplete their health.
Overload, Energy Drain, and energy weapons are good for taking down shields. - Enemies with yellow health bars have armor and can be tough to take down.
Single-shot weapons and flame-based attacks are good for wearing down armor. - Enemies with armor or shields can't be knocked down or lifted into the air with biotics.
- Keep firing and unleashing powers to prevent enemy shields from regenerating.
- Watch for opponents on higher ground! Elevated enemies can shoot you even in cover.
- Kett
- The Anointed's heavy gun deals significant damage. Get to cover when you see it spool up.
- The Ascendant's barrier renders him impervious to most weapons. Destroy his orb to lower the barrier.
- Heavily armored and very strong, the fiend can kill you with a single hit. Don't let them get close!
- The Destined can cloak both himself and nearby allies in mist, making them hard to target. Take him out quickly.
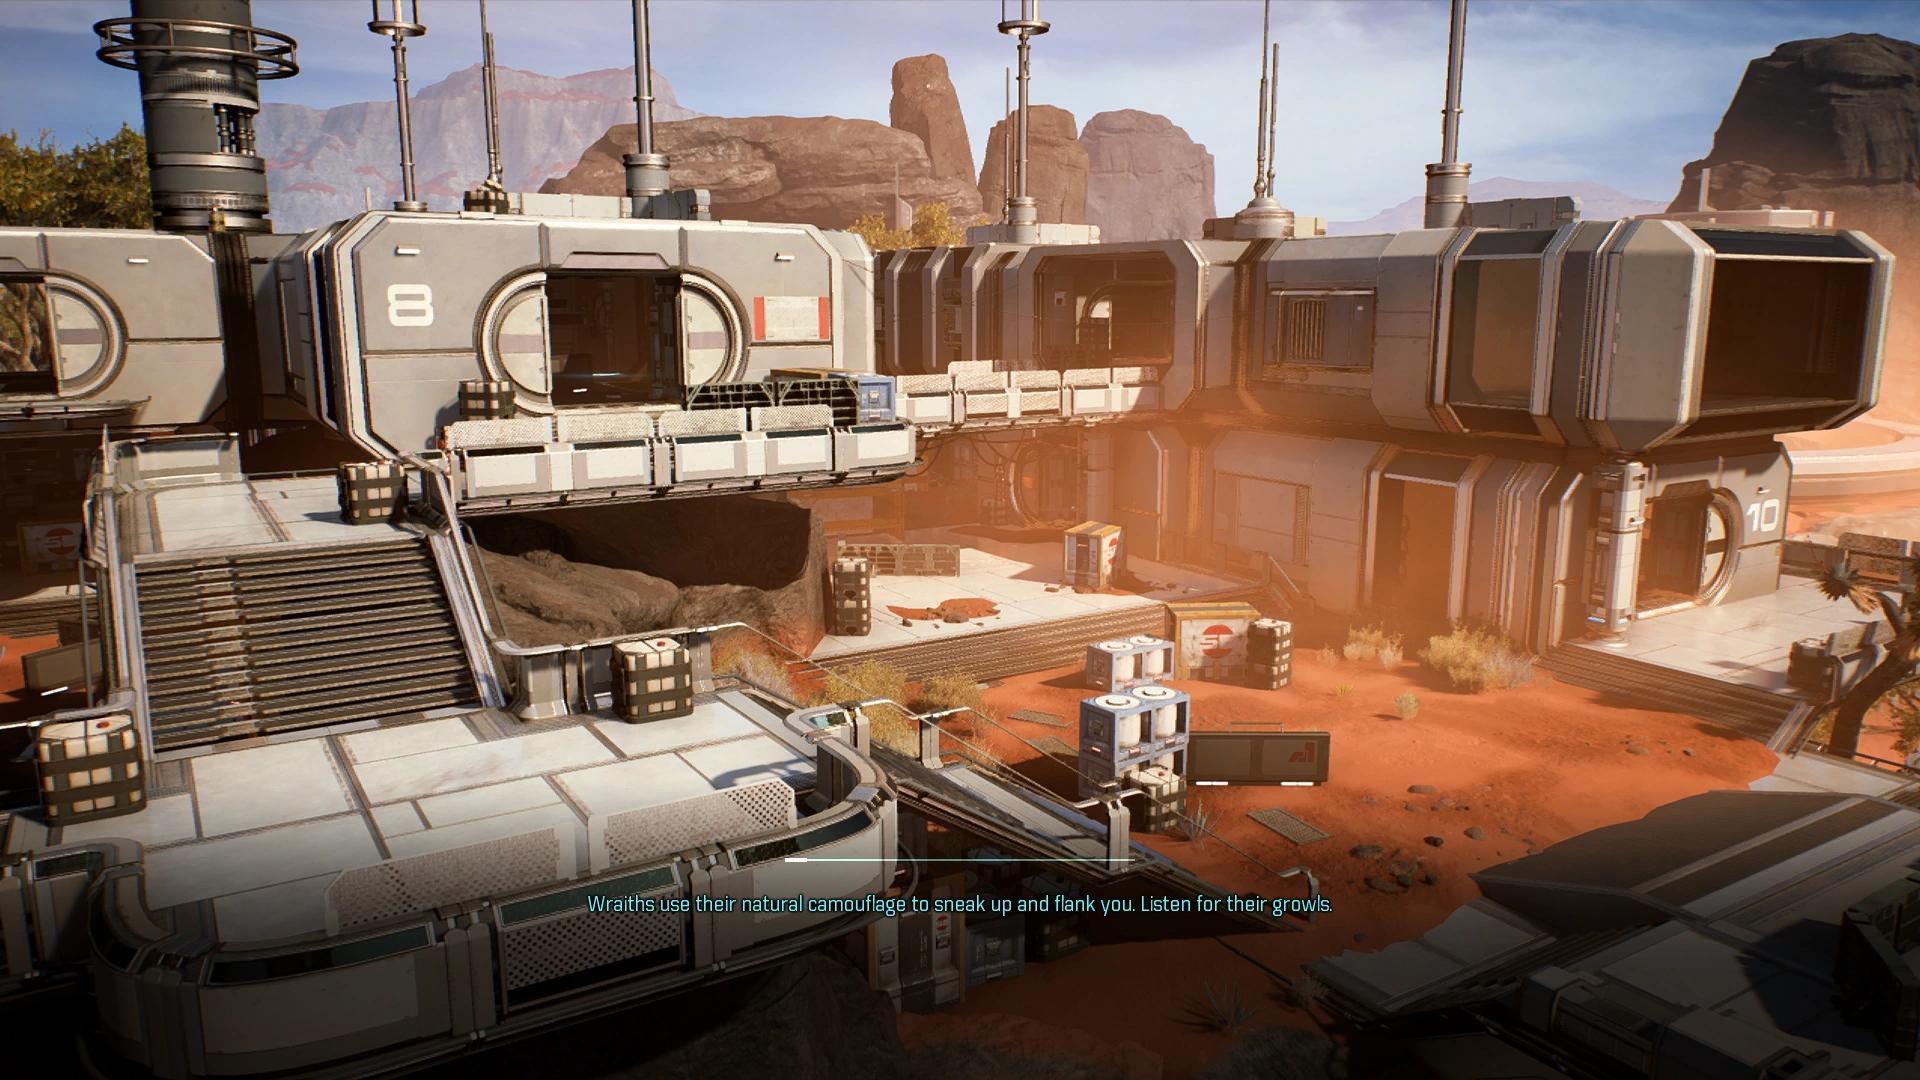
- Wraiths use their natural camouflage to sneak up and flank you. Listen for their growls.
- Outlaws
- Asari Pariah use a biotic aegis to reflect your own gunfire back at you. Try flanking them.
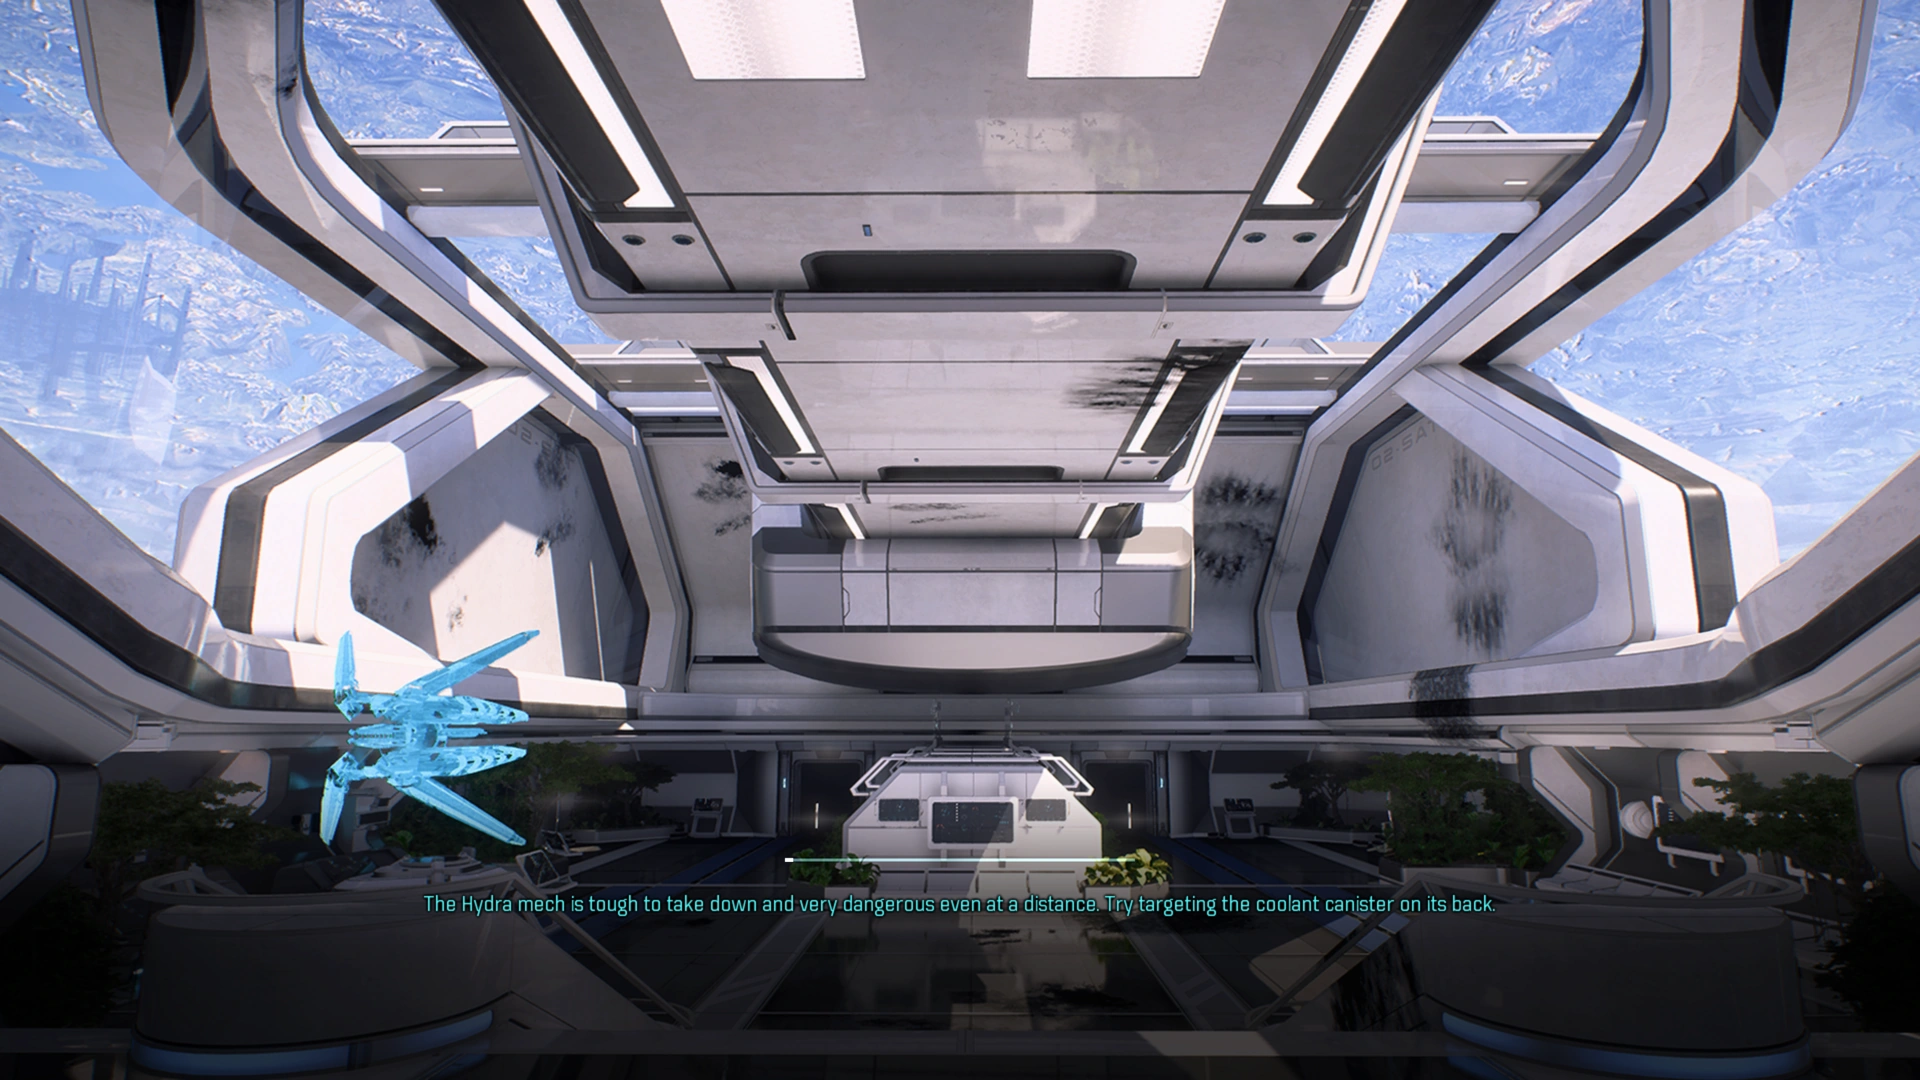
- The Hydra mech is tough to take down and very dangerous even at a distance. Try targeting the coolant canister on its back.
- Salarian Agents use holographic decoys to distract and confuse you. Look for the telltale shimmer to spot the fakes.
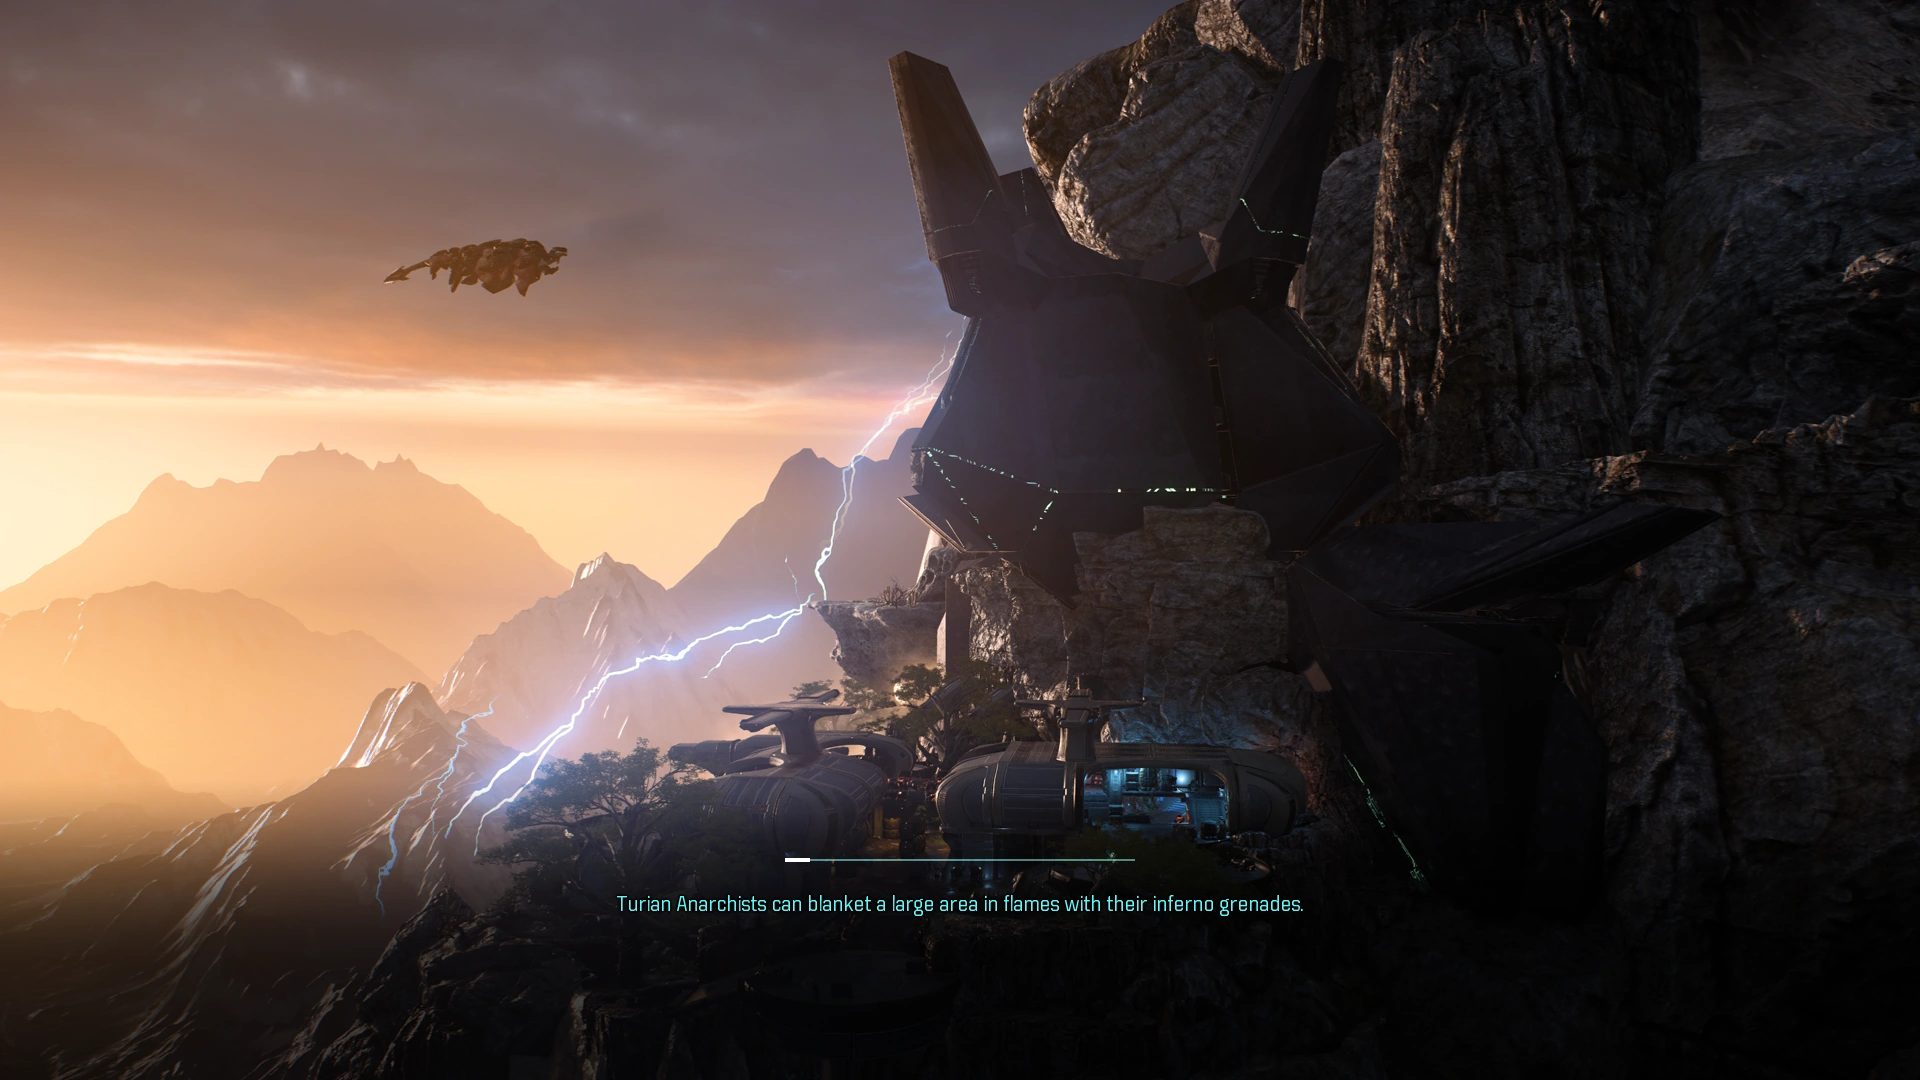
- Turian Anarchists can blanket a large area in flames with their inferno grenades.
- Keep your distance when you fight the krogan Berserker. After taking enough damage, he'll enter a blood rage.
You won't like him when he's angry. - Angaran Saboteurs use Energy Drain to rapidly deplete your shields. Best to target them quickly.
- Get to cover when you see a Sharpshooter's laser sight on you.
- Remnant
- When Remnant glow blue, they're docile and harmless. Get too close or shoot at them, though, and they'll defend their territory.
- The gargantuan Remnant Architect is extremely dangerous. Come prepared if you want to tackle one.
- Assemblers can rapidly construct Breachers to close in on you. Destroy the Breacher before it is constructed.
- Destroyers are strongly armored, shielded, and carry heavy ordinance. Target their turrets or reactor core to weaken them.
- An Observer's laser can deal serious sustained damage. Take cover when you see them.
- Nullifiers are hard to hit from the front, and their attacks go through cover. They're most vulnerable when moving or flanked.
Powers and Skills[ | ]
- Use a Primer
 power on an enemy, then follow up with a Detonator power to set off a devastating combo explosion.
Check the Skills screen to see which powers can prime or detonate. - Detonate an enemy affected by biotics for a Biotic Combo that hits a target with massive damage and force.
- Detonate a chilled or frozen enemy for a Cryo Combo, an icy explosion that can slow or freeze nearby foes.
- Detonate a burning enemy for a Fire Combo, a large explosion that deals bonus damage to armor and can ignite nearby foes.
- Detonate an electrified enemy for a Tech Combo that deals bonus damage to shields and creates a lingering zone of electricity to stun foes.
- Debris, small objects, and even explosive canisters can become deadly projectiles with Pull and Throw.
- Certain powers require power cells. The number of remaining cells for each power can be seen in your HUD.
- Some powers do something different if you hold the button rather than tapping it. Try experimenting.
- Invest in the Combat Fitness skill if you want to carry more weapons into battle.
- A power cannot be used while it is recharging.
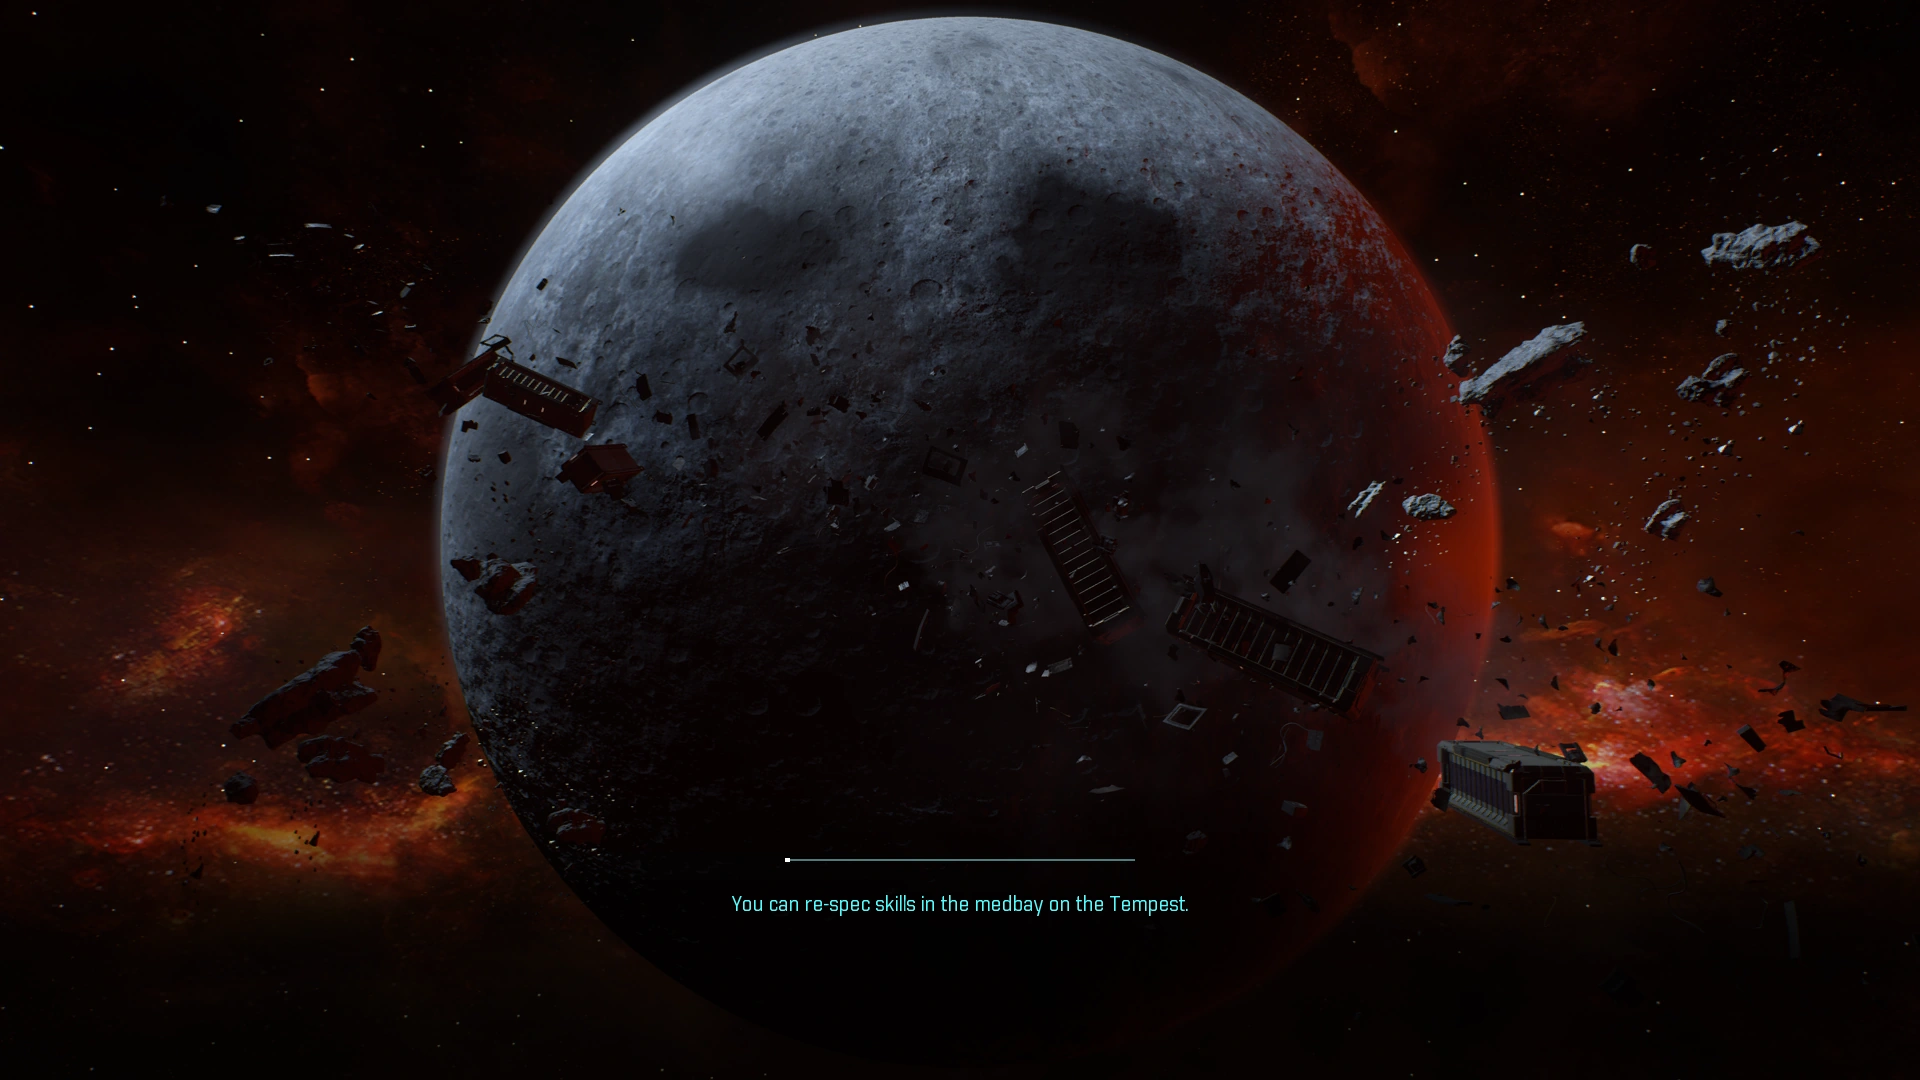
Upgrade your powers or carry lighter weapons to increase your recharge speed. - You can re-spec skills in the medbay on the Tempest.
Weapons[ | ]
- Equip mods to make your weapons more effective or specialized.
- Melee weapons can make you substantially more effective in close quarters, especially against unarmored and unshielded foes.
- Headshots inflict superior damage on most targets.
- Sniper rifles do more damage when you use the scope.
- Pay attention to weight when choosing which guns to use.
Equipping heavier guns will reduce power recharge speed and prevent you from using them as often. - Press (button) to open the weapon wheel. This will pause the game and access your equipped weapons and consumables, as well as favorites.
Movement[ | ]
- Hovering ((button)) or evading ((button)) while airborne can help extend your jump.
- Draw your weapon and move close to walls or large objects to take cover.
Cover provides safety from enemy fire and allows your shields to quickly regenerate. - Press (button) while in combat to shift your camera to the other shoulder.
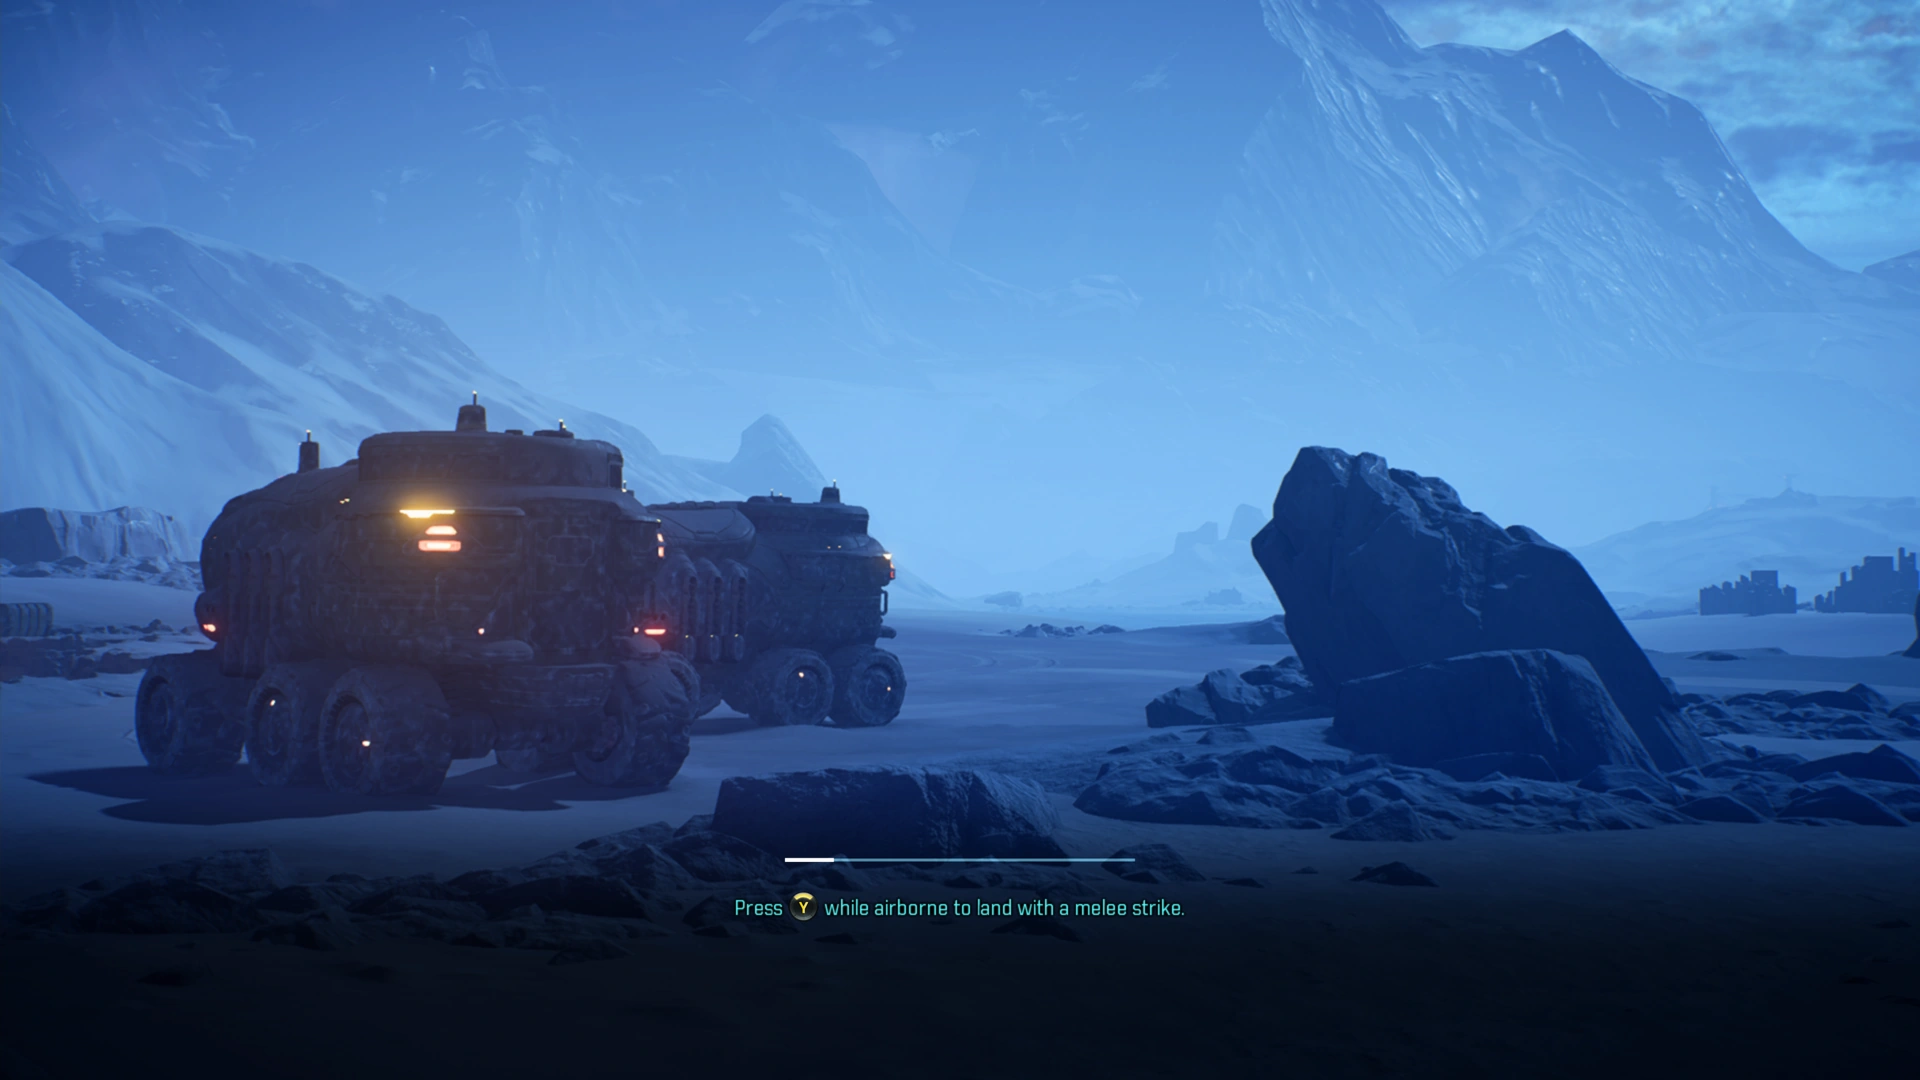
- Press (button) while airborne to land with a melee strike.
- Hold (button) while airborne to engage your jump-jets and hover for a short time.
- Press (button) to quickly evade danger, even while airborne.
Squadmates[ | ]
- Press (button) to order both your squadmates to defend a location or attack your target.
- Hold (button) to call both squadmates back to your side.
Hold (button) or (button) to call them individually. - Choosing the right squad to complement Ryder's strengths and weaknesses is key. Experiment with squad configurations.
- Squadmates do more damage when ordered to attack a specific target.
Favorites and Profiles[ | ]
- Favorites allows you to swap between sets of powers or change your profile mid-combat.
Your currently mapped powers and profile can be saved as a favorite on the Skills screen, then accessed from the weapon wheel. - Different profiles offer very different benefits. You can change your active profile in the pause menu at any time.
- Profiles allow SAM to optimize Ryder for a particular style of combat. Invest in combat, tech, or biotic skills to unlock more powerful profiles.
Nomad[ | ]
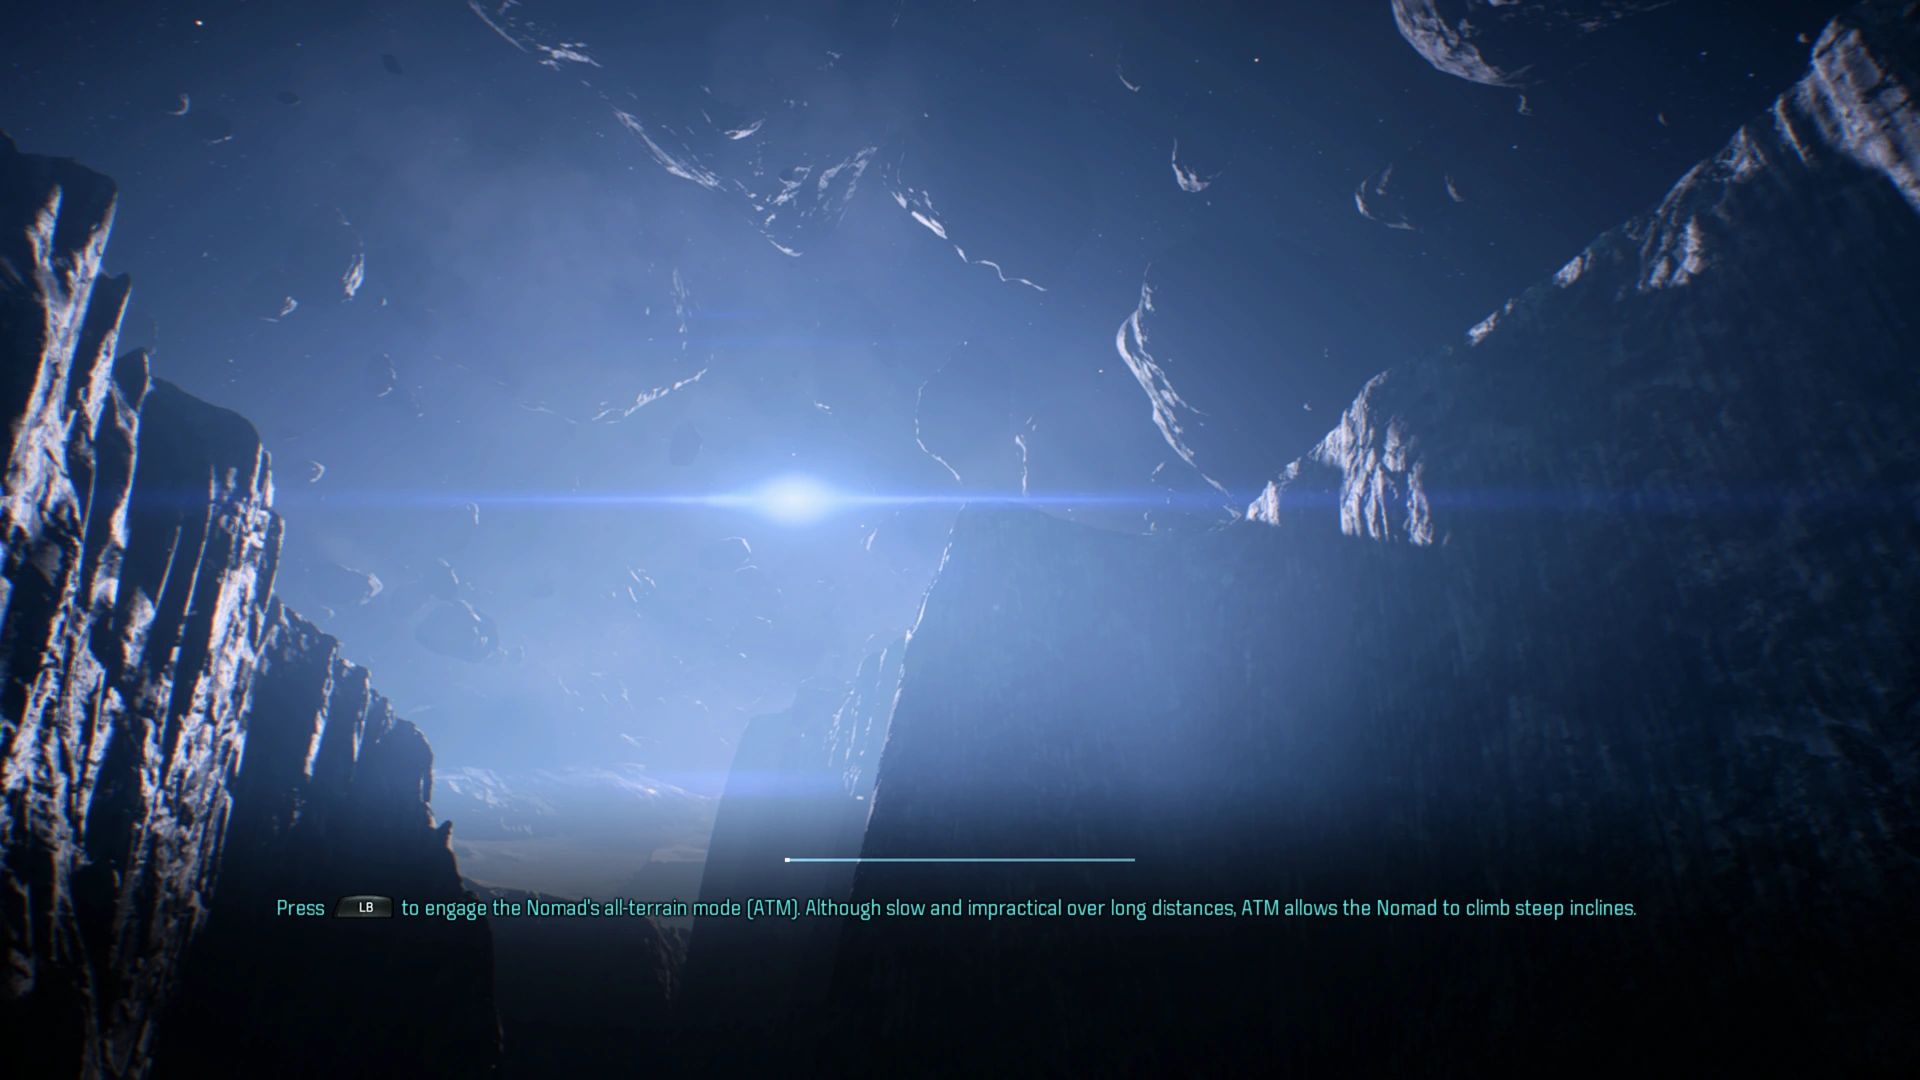
- Press (button) to engage the Nomad's all-terrain mode (ATM). Although slow and impractical over long distances. ATM allows the Nomad to climb steep inclines.
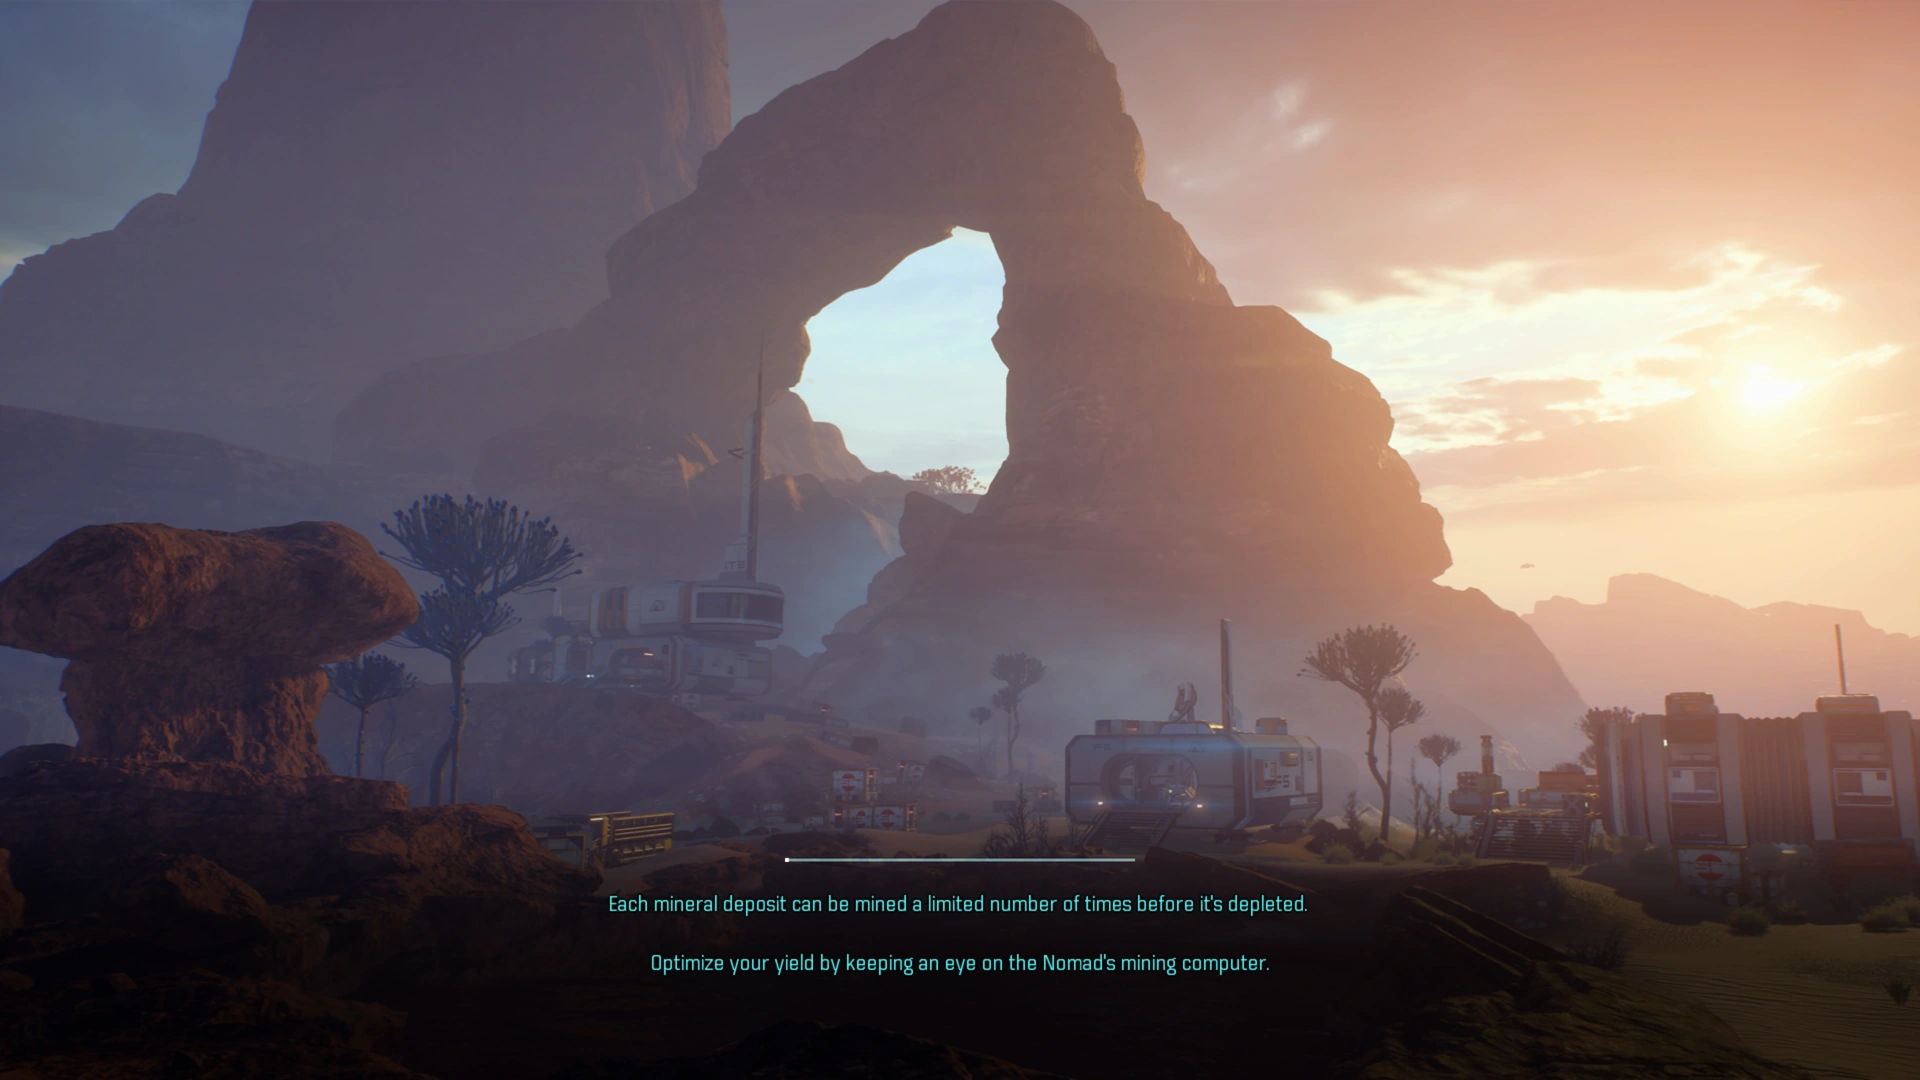
- Each mineral deposit can be mined a limited number of times before it's depleted.
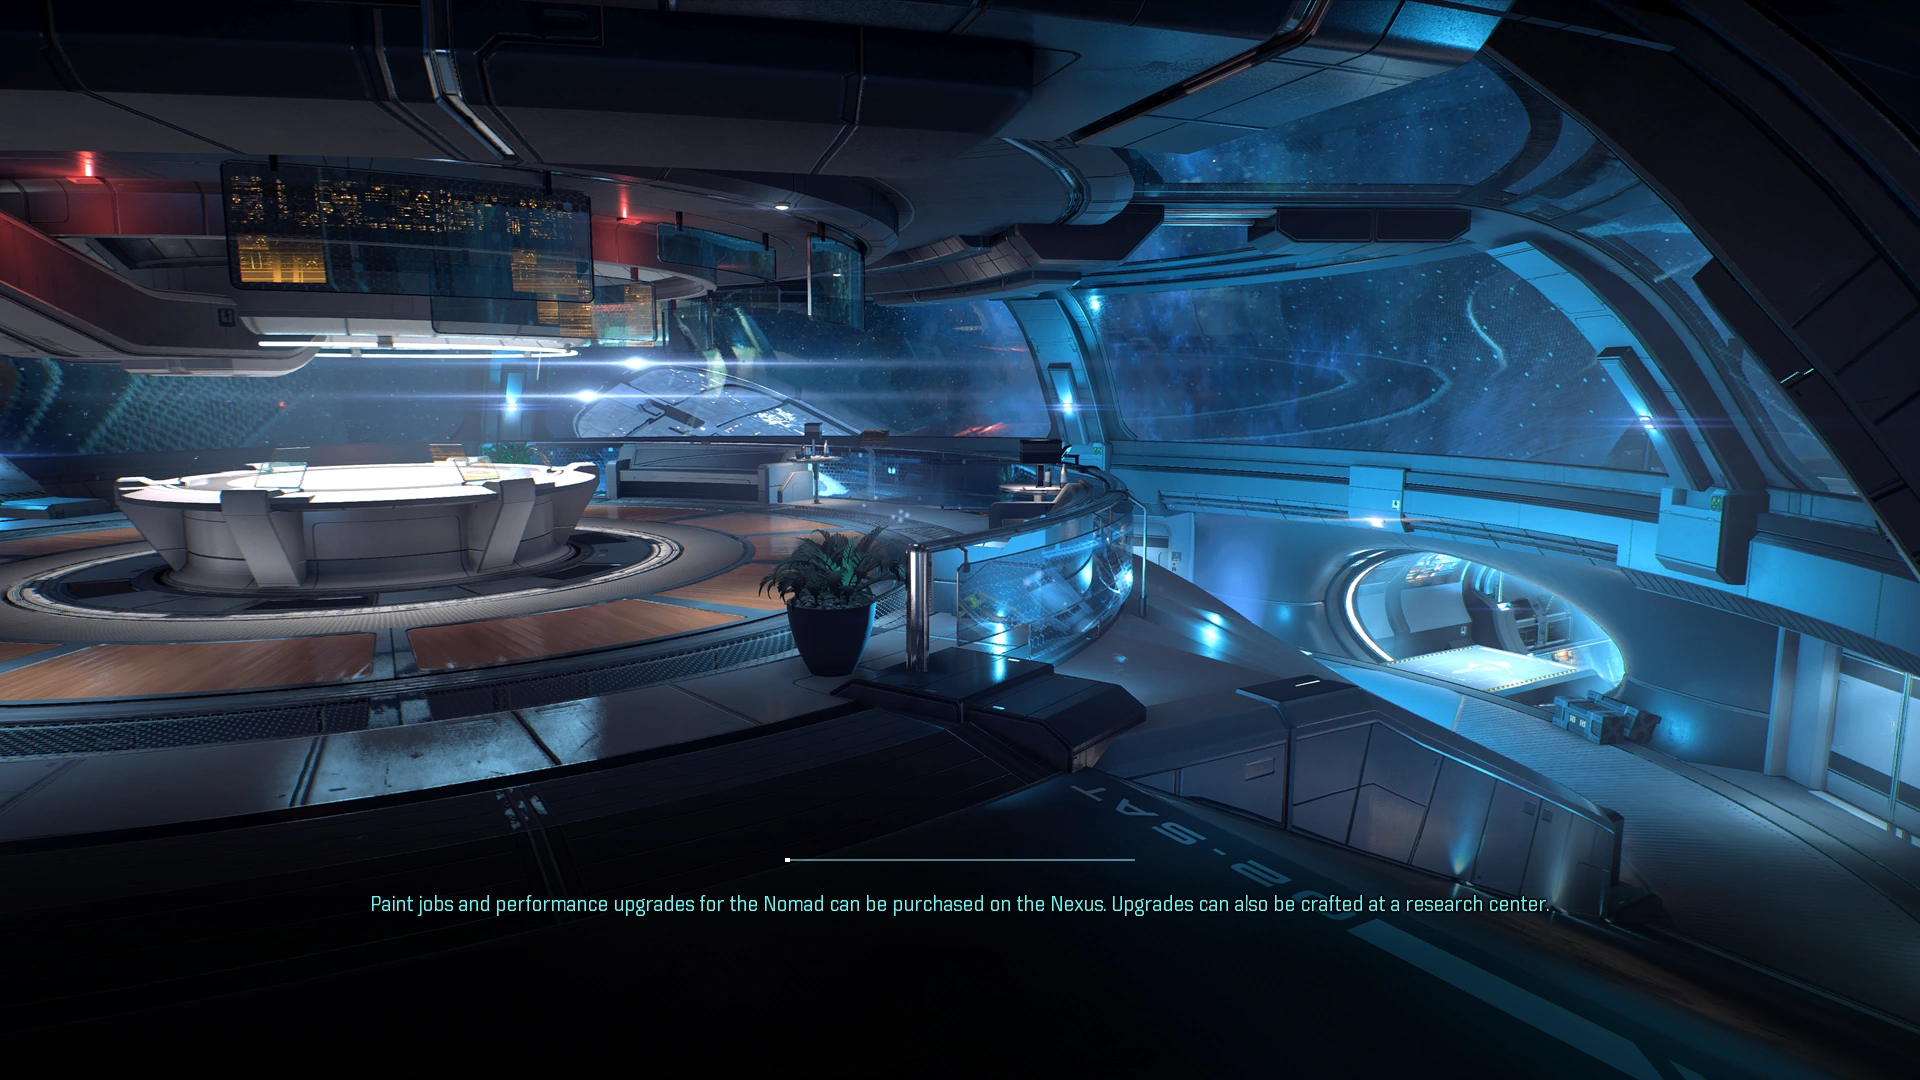
Optimize your yield by keeping an eye on the Nomad's mining computer. - Paint jobs and performance upgrades for the Nomad can be purchased on the Nexus. Upgrades can also be crafted at a research center.
- You can use the Nomad as cover when approaching an enemy encampment.
- Hold (button) while inside the Nomad to return to the Tempest.
Story and Dialogue[ | ]
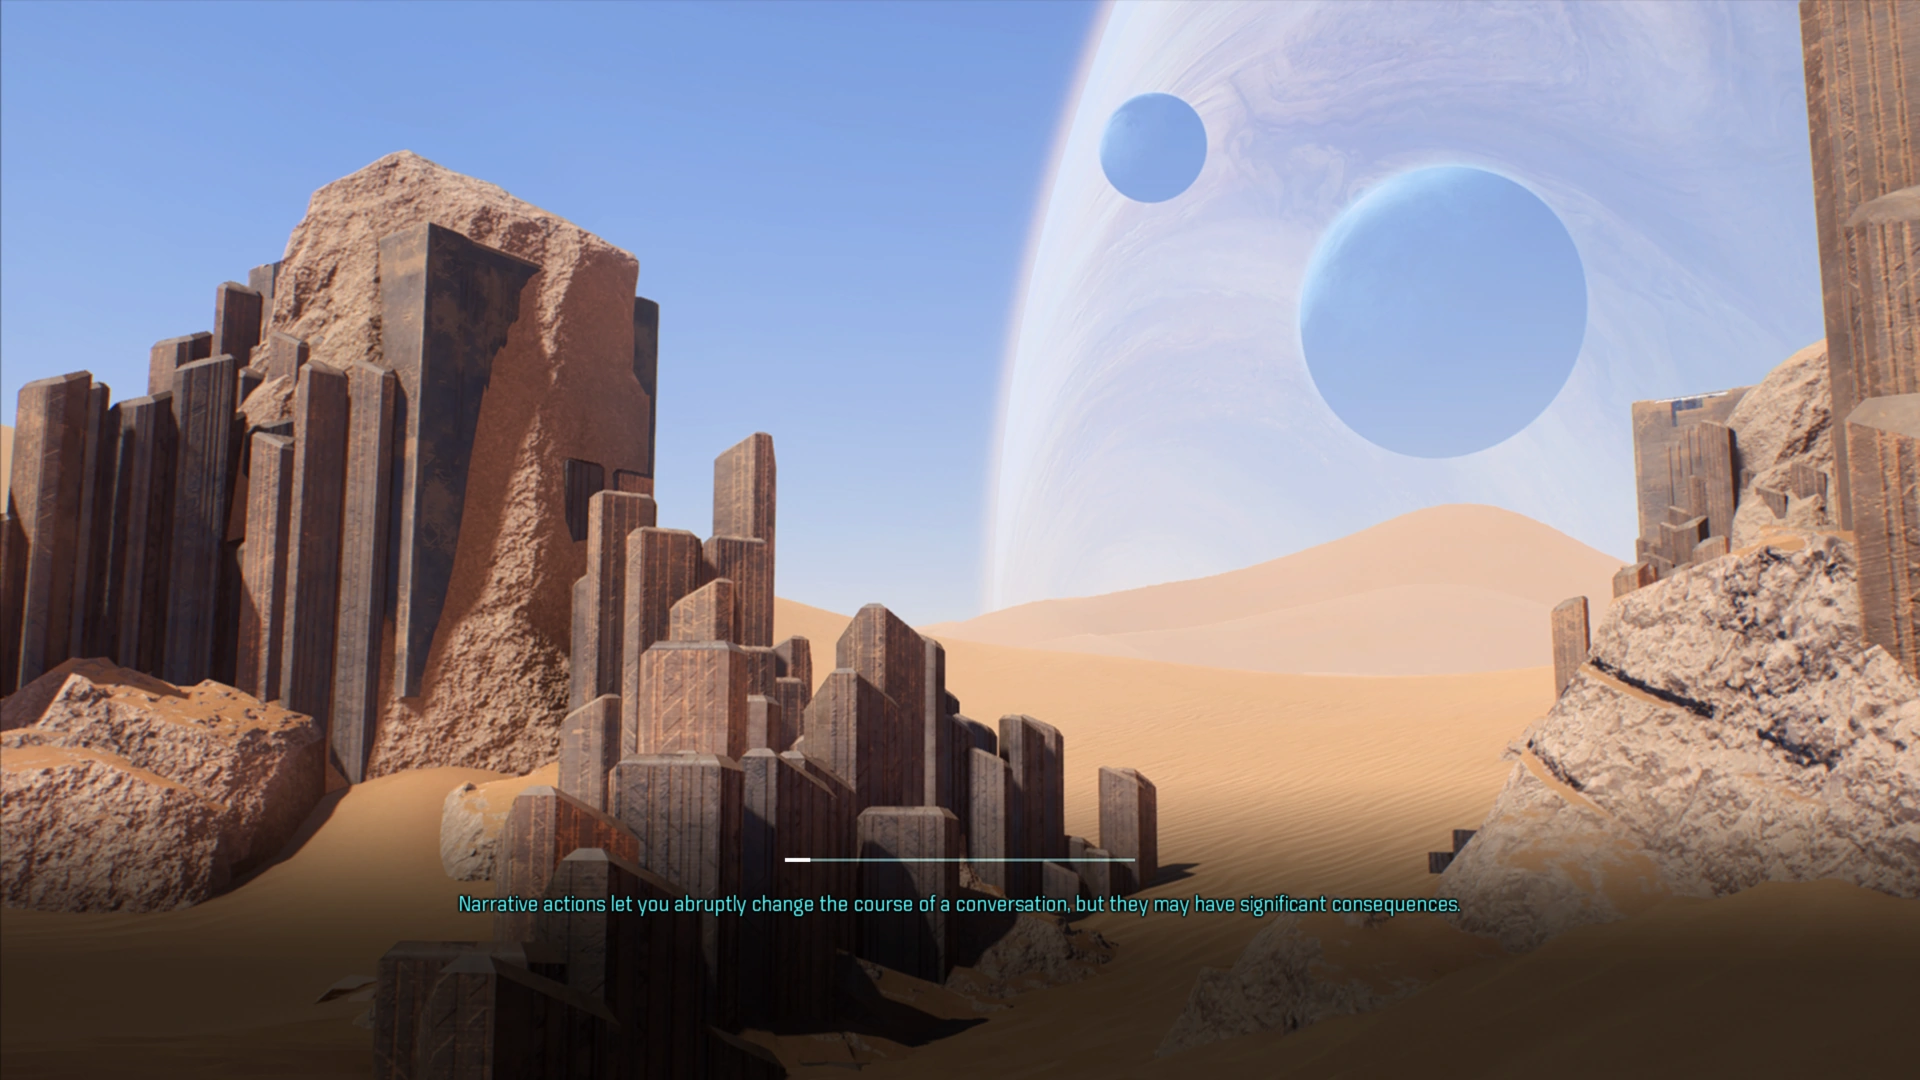
- Narrative actions let you abruptly change the course of a conversation, but they may have significant consequences.
- Ryder's decisions can have lasting consequences. Choose carefully.
Missions[ | ]
- Complete missions important to your squadmates to earn their loyalty and unlock their top-tier skills.
- Missions critical to story progression are listed under Priority Ops in the journal.
Allies and relationships are personally important to your squad and crew. - In the journal, you can change your tracked mission at any time.
Tracked mission objectives appear both in-world and on the compass.
Miscellaneous[ | ]
- The codex allows you to learn more about the people, technologies, and history of the Andromeda Initiative, as well as new discoveries in the Heleus Cluster.
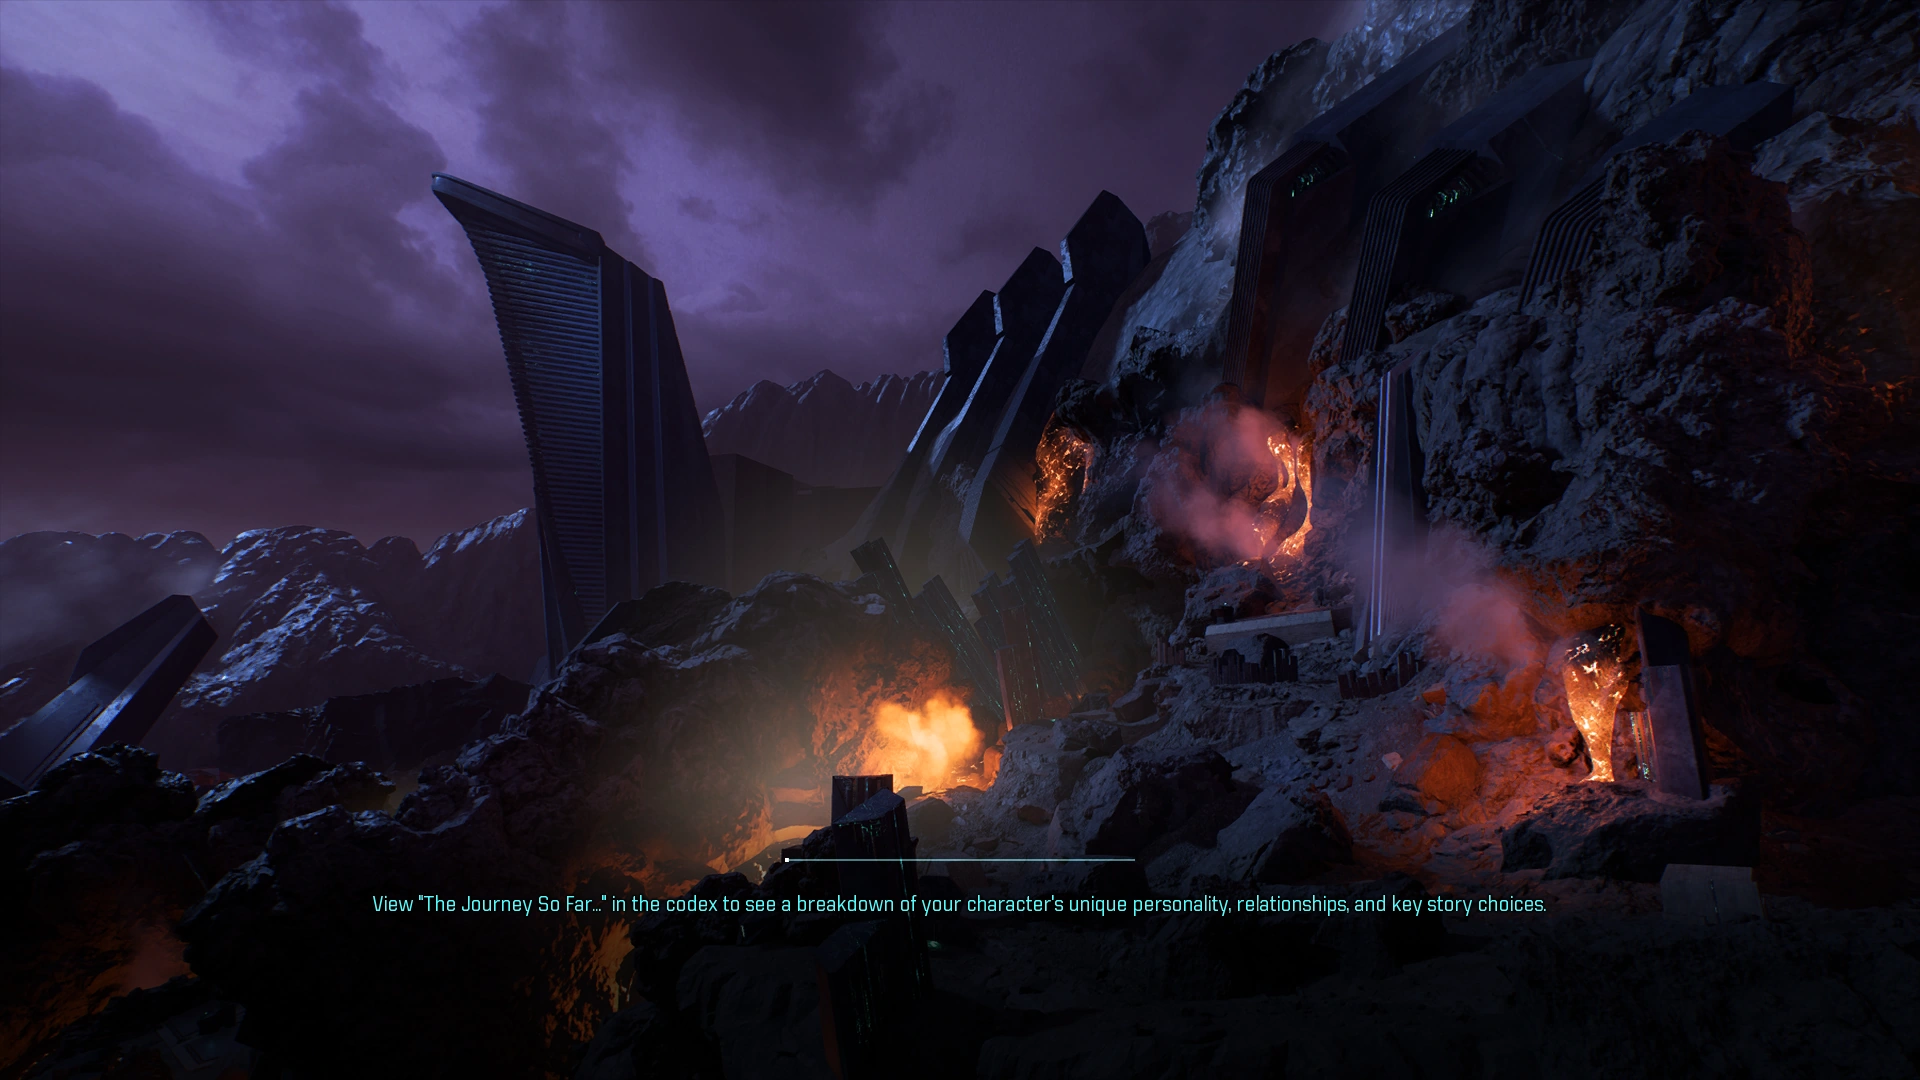
- View "The Journey So Far…" in the codex to see a breakdown of your character's unique personality, relationships, and key story choices.
- You can change the game difficulty at any time on the options menu.
- Press (button) while standing still to display your current objective.
- Visit your quarters on the Tempest to customize your appearance.
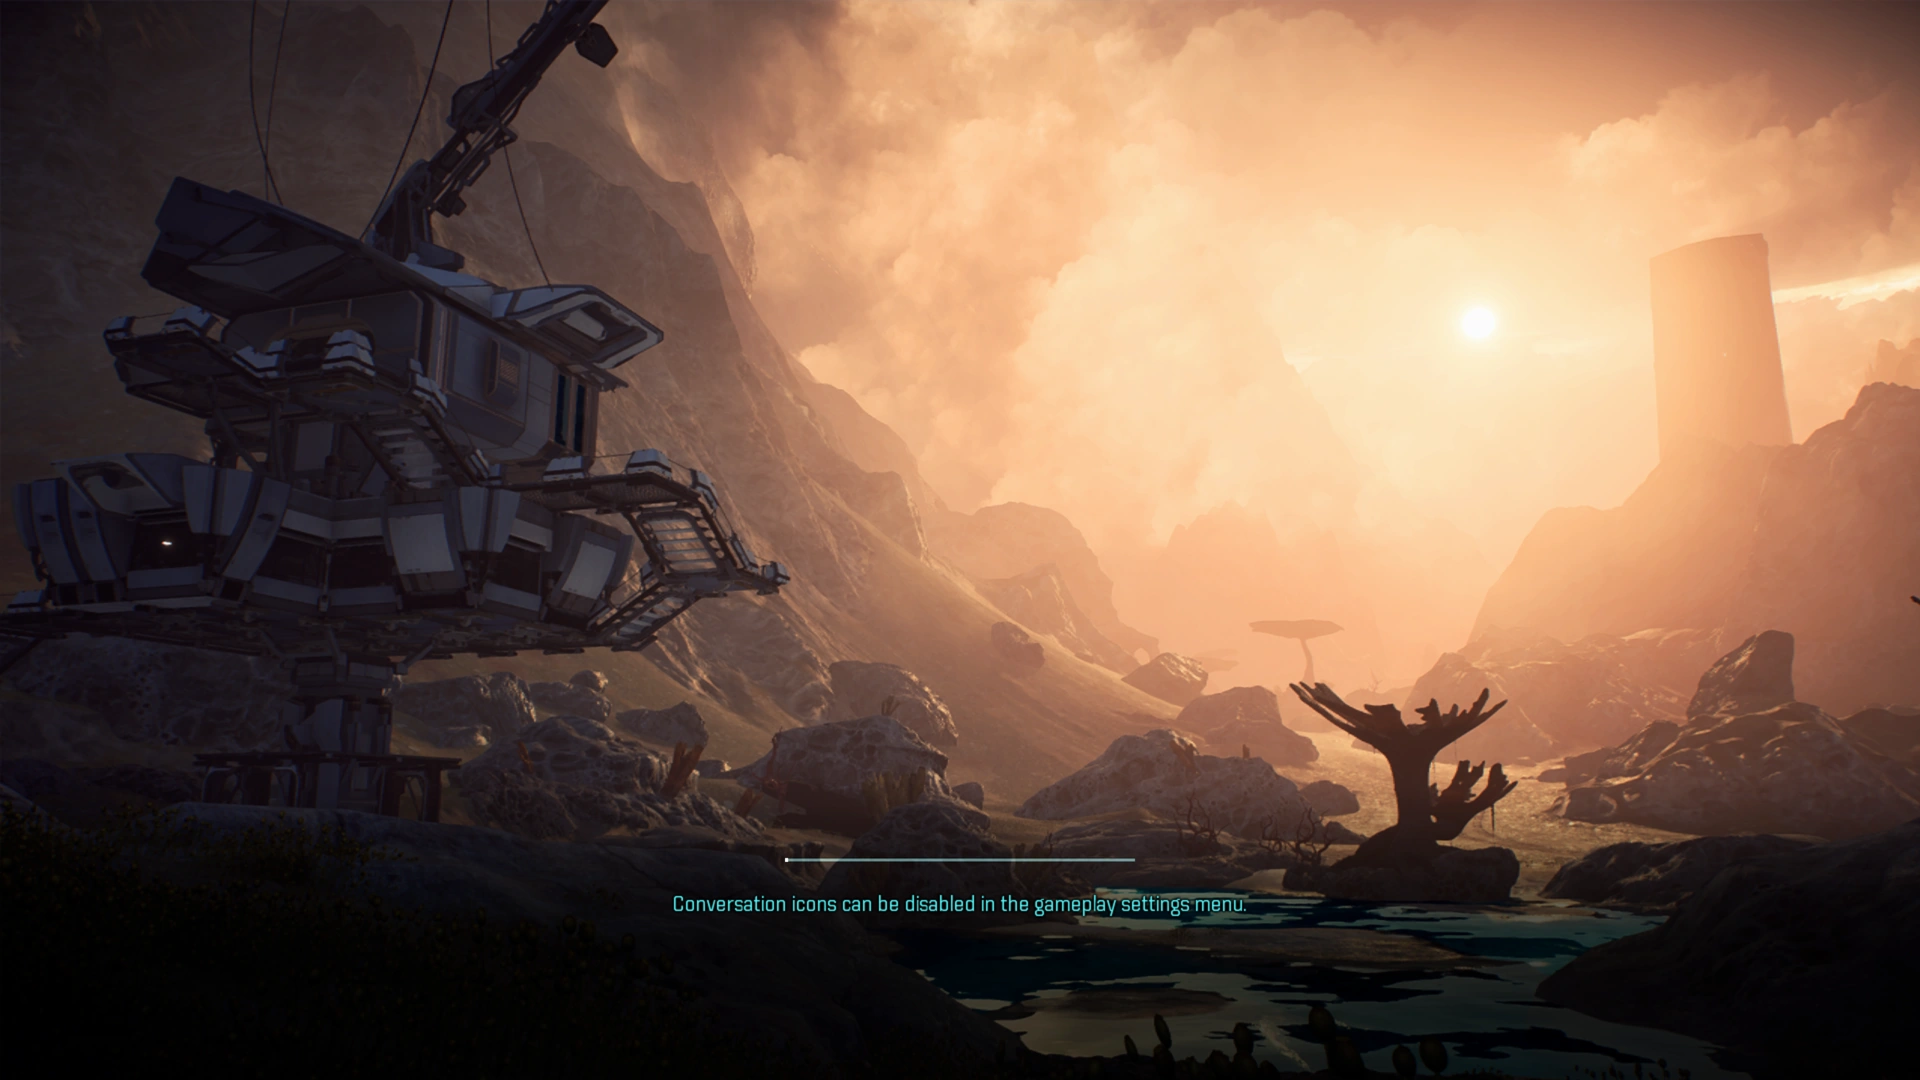
- Conversation icons can be disabled in the gameplay settings menu.
- Minerals and rare augmentations allow you to craft powerful armor, weapons, and Nomad upgrades.
- Your scanner allows you to view detailed information on nearby objects and lifeforms.
- Environmental hazards deplete your life support. Once life support is depleted, you will start to lose health and shields.
- Scan nearby glyphs to unlock Remnant decryption puzzles.
- SAM allows you to interface directly with Remnant consoles. Your omni-tool indicates the current state of each connected Remnant device: active, inactive, hostile, or friendly.
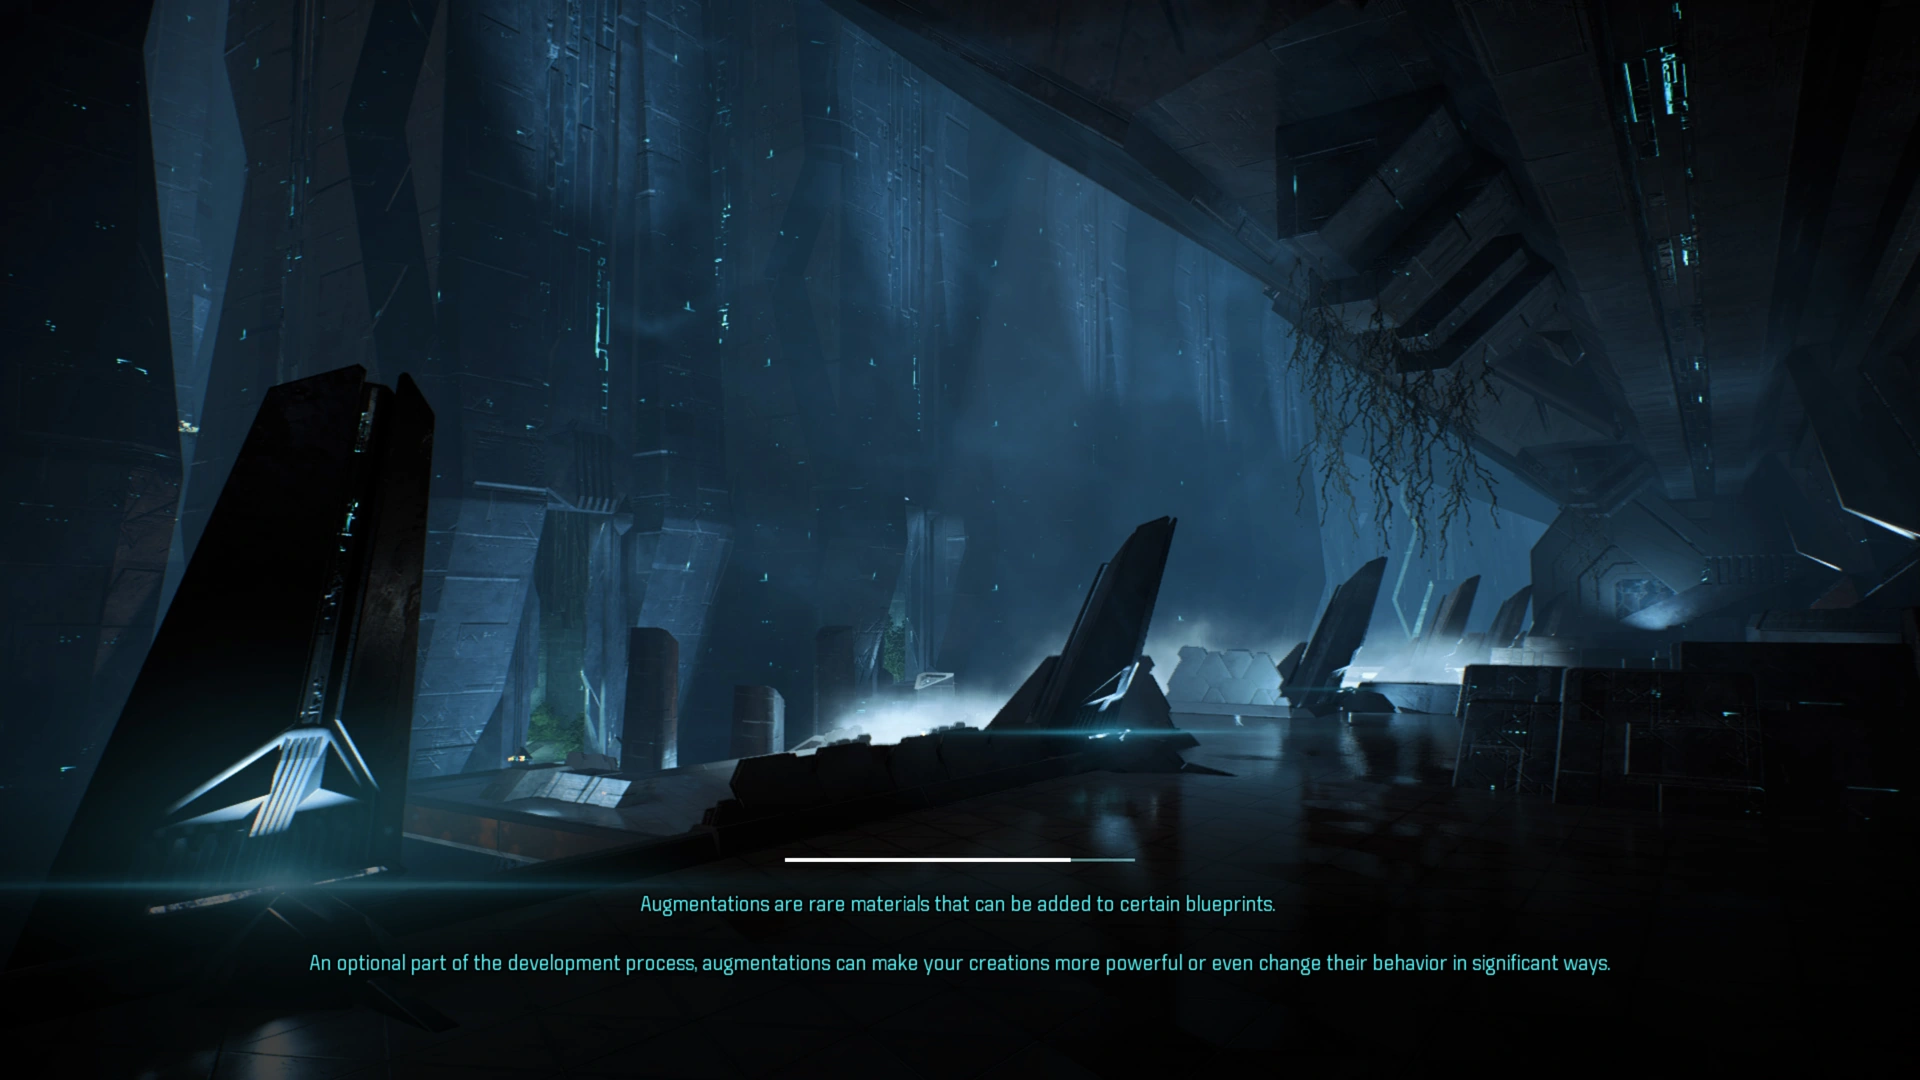
- Augmentations are rare materials that can be added to certain blueprints.
An optional part of the development process, augmentations can make your creations more powerful or even change their behavior in significant ways.
Viability[ | ]
- Each time you earn enough AVP and reach the required Nexus Level, you gain the opportunity to awaken a new group of colonists from cryo sleep. Different groups offer various gameplay benefits.
- Outposts provide all the same benefits as a forward station, as well as a place to complete research, a large viability bonus, and new missions.
- Improve the viability of the worlds you explore by completing missions, making allies, defeating threats, and improving the environment.
Viability unlocks special cryo pod perks and increases the chances of creating an outpost on some worlds. - Open the Viability screen in the pause menu to see an overview of your AVP progression, Nexus Level, and the viability of each potentially habitable world you've discovered.
Strike Teams[ | ]
- APEX Missions can be handled by your strike teams or you can play them yourself in multiplayer for additional rewards.
- While on a mission, strike teams will earn positive traits if they succeed and negative ones if they fail.
Forward Stations[ | ]
- Return to a forward station to restore your health, ammo, and power cells. You can also repair Nomad damage at a forward station.
- Forward stations give you a foothold in the area. They allow you to resupply, change your loadout, fast travel, and reveal nearby mineral deposits.
- You can fast travel to any established forward station using the world map.
Multiplayer[ | ]
- Supplies
- Supplies like First Aid Packs, Revive Packs, Ammo Packs, and the Cobra RPG can be extremely useful, but only a limited number can be carried into the field.
Card packs in the Store can give you more Supplies or even increase the number you can carry into battle. - Press (button) to consume an Ammo Pack, instantly reloading all your weapons and filling your reserves with ammo and power cells.
- The Cobra RPG launches consumable explosives that deal incredible damage.
Press (button) to ready your Cobra RPG. - Press (button) to consume a First Aid Pack, instantly restoring your health and shields to full.
- If you're bleeding out, press (button) to consume a Revive Pack and get back up.
- Supplies like First Aid Packs, Revive Packs, Ammo Packs, and the Cobra RPG can be extremely useful, but only a limited number can be carried into the field.
- Currency
- Mission Funds let you purchase items directly from the Item Store.
Earn Mission Funds by completing APEX Missions.
- Mission Funds let you purchase items directly from the Item Store.
- Missions
- Completing an APEX Mission yields special rewards in both single player and multiplayer.
- The special reward for an APEX mission can be claimed only once, but you can replay the mission for standard rewards as much as you want.
- Combat
- Move close to walls or large objects to take cover.
Cover provides safety from enemy fire and allows your shields to quickly regenerate. - Looking for a challenge? Play a match on higher difficulty modes for greater rewards.
- Move close to walls or large objects to take cover.
- Characters
- Multiplayer characters are members of APEX, an elite strike team comprised of Milky Way colonists and their allies.
- In addition to leveling up your characters, all XP you earn in a match contributes toward unlocking Bonus Stats. Once earned, these permanent bonuses apply to all of your multiplayer characters.
Different Bonus Stats get unlocked based upon which characters you play. - Equip Boosters to give you an edge in the next match. Boosters are consumed when the match starts, but last for the entire duration.
- Equipment can be chosen before a match to improve your performance. Unlike boosters, equipment is not consumed upon use.
Equipment is never found in card packs, but may be purchased directly from the Item Store with Mission Funds. - Unique appearance options for each character can be unlocked from card packs.
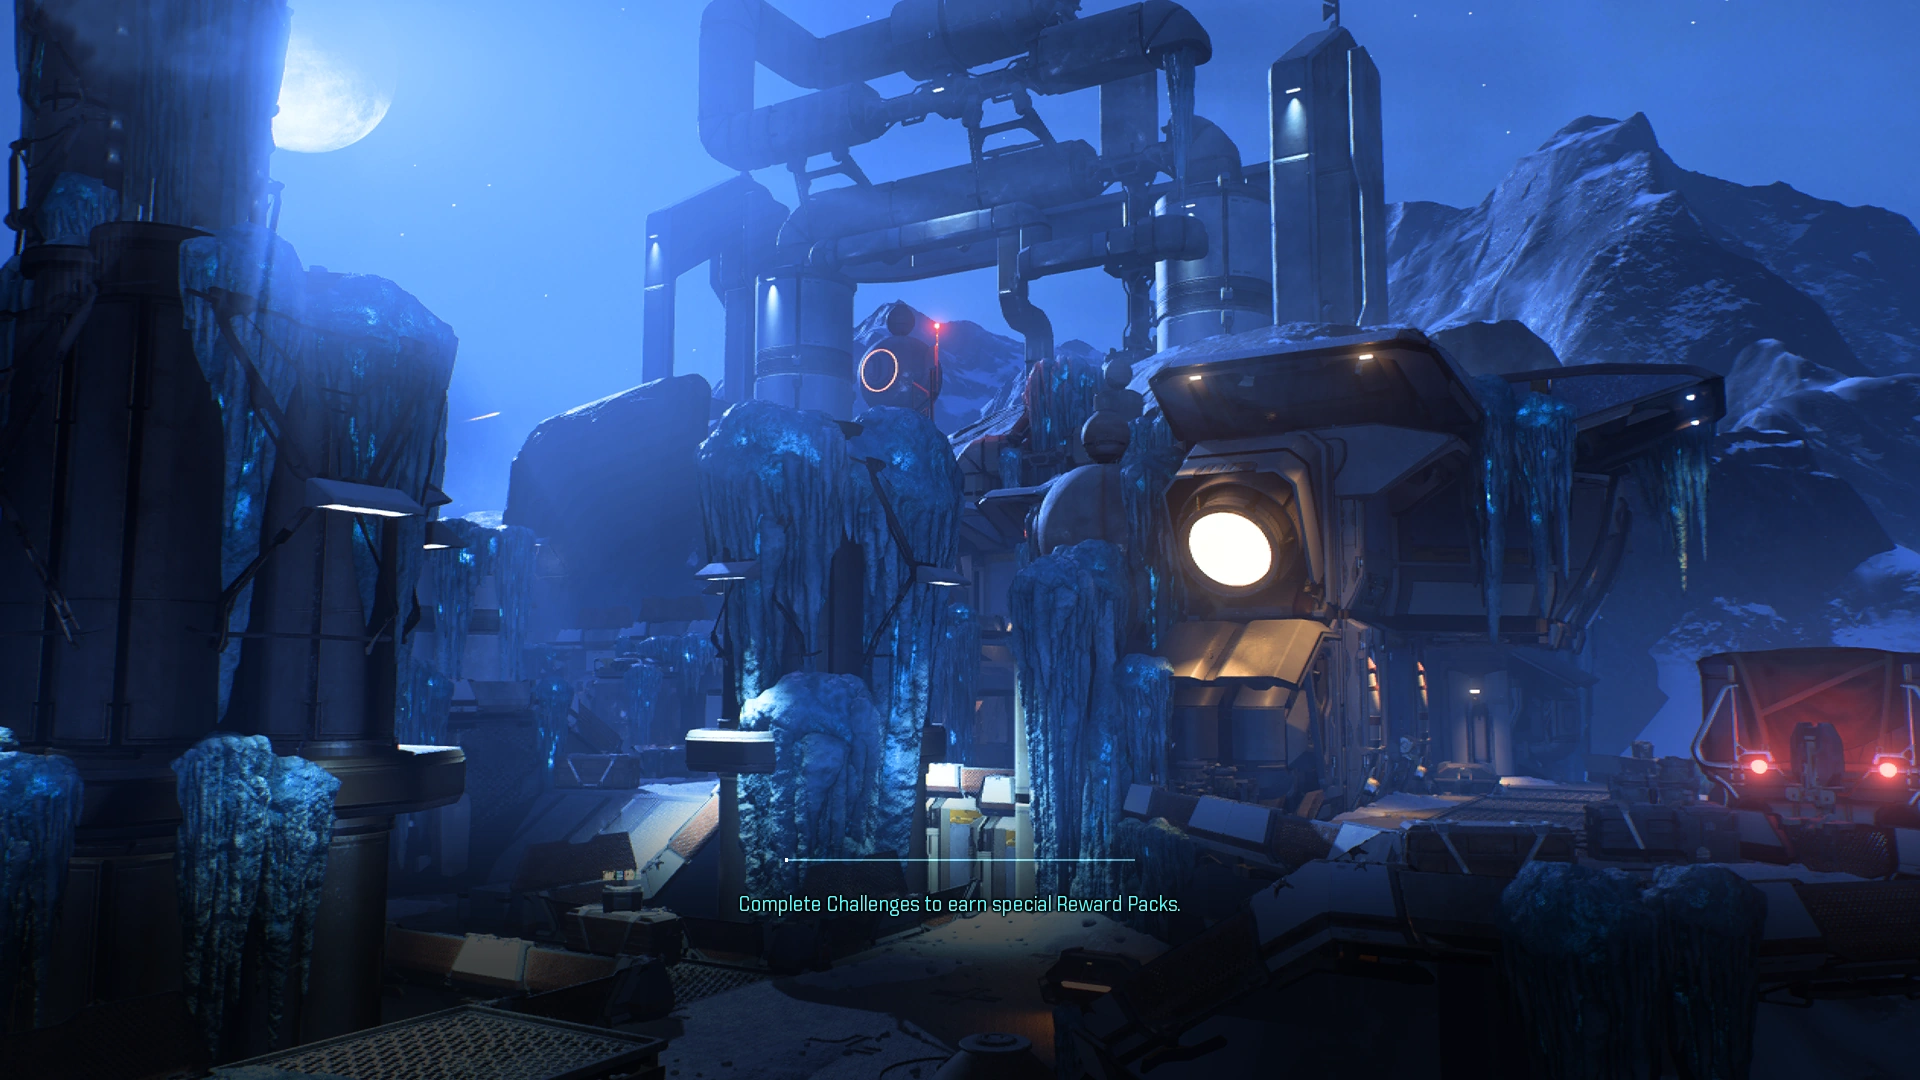
- Complete Challenges to earn special Reward Packs.
- Create a Private Match if you only want to play with friends. A Public Match will allow any player to join you.
- The APEX HQ app allows you to check your multiplayer stats, deploy your strike teams, and earn Mission Funds even when you're away from the game.
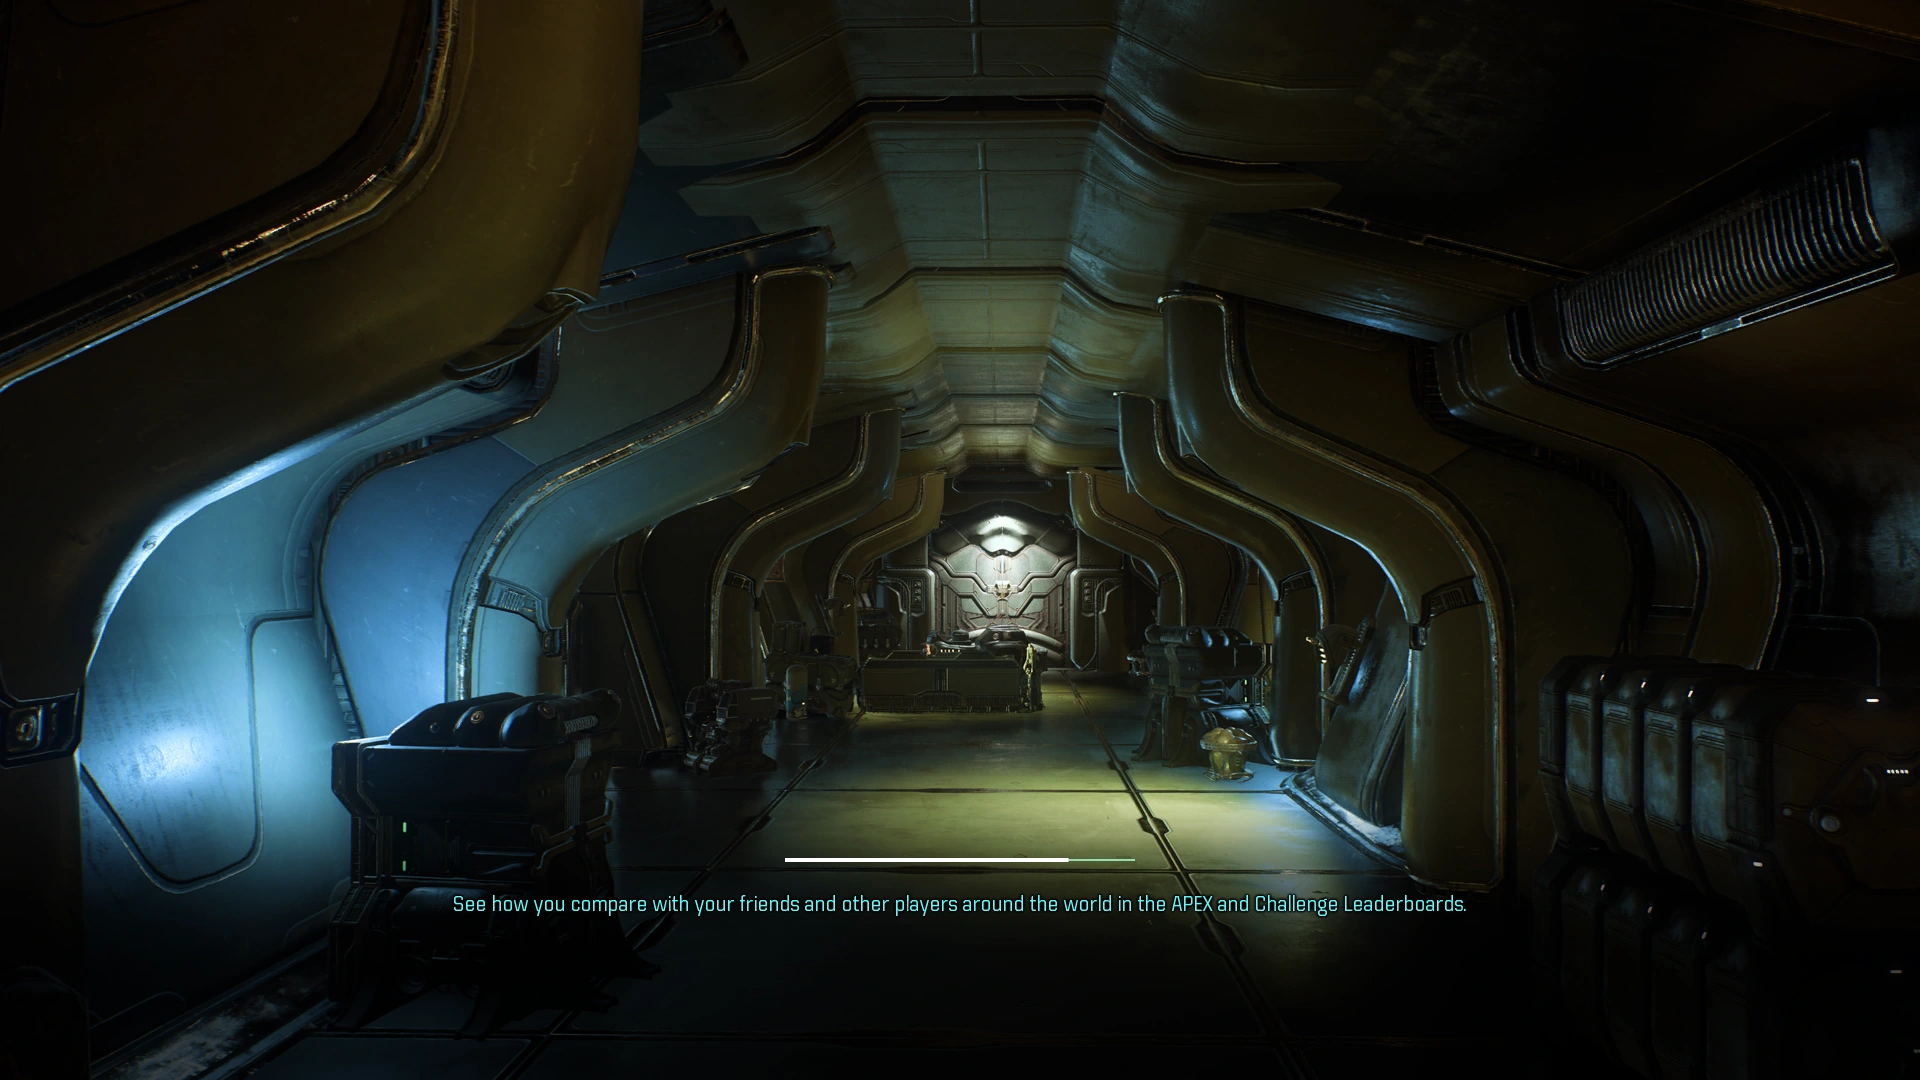
- See how you compare with your friends and other players around the world in the APEX and Challenge Leaderboards.
- The host has been dropped. Searching for a new one.
Gallery[ | ]
Loading screens are some of the best images in the game. Below is a collection of each unique loading screen available. It should be noted that some of the loading screens are duplicates and as such aren't shown here twice.
Singleplayer[ | ]

Ark Natanus

Chapter 1

Chapter 2
Chapter 3
Chapter 4
Chapter 5
Chapter 6
Chapter 7
Chapter 8
Chapter 9
Elaaden
Eos
Epilogue
H-047c
Havarl
Kadara
Loyalty - Cora Harper
Loyalty - Jaal Ama Darav
Loyalty - Liam Kosta
Loyalty - Nakmor Drack
Loyalty - Pelessaria B'Sayle
Loyalty - Vetra Nyx
Starting Screen
Tempest
Voeld


Multiplayer[ | ]
Firebase Aqua
Firebase Derelict
Firebase Icebreaker
Firebase Magma
Firebase Nimbus
Firebase Paradox
Firebase Sandstorm
Firebase Vertigo
Firebase Zero
Multiplayer
Multiplayer - Dropped Host
Remnant Ruins