While the Andromeda Initiative's long-range scans have identified several potentially-habitable planets in the Heleus cluster, the possibility of encountering harsh planetary conditions during the search for a suitable Golden World exists. The Pathfinder and their team will be responsible for assessing and exploring any environment deemed necessary as the mission unfolds.

Overview[ | ]
Planets and certain areas contain hazards that damage Pathfinder Ryder and the ND1 Nomad.
- Hazard levels are 1, 2, 3, & 4. The higher the hazard level, the more severe the hazard.
- Hazard levels are conspicuously displayed in the center of the screen each time that Pathfinder Ryder and the ND1 Nomad enters (interacts with) a hazardous area.
- SAM will provide audio commentary about entering, changing, or leaving hazard areas each time.
- When Pathfinder Ryder and the ND1 Nomad leave a hazard area, a conspicuous display listing "SAFE CONDITION" will appear on screen.
- When Pathfinder Ryder and the ND1 Nomad changes hazard level (up or down but still a hazard), a conspicuous display will appear on screen.
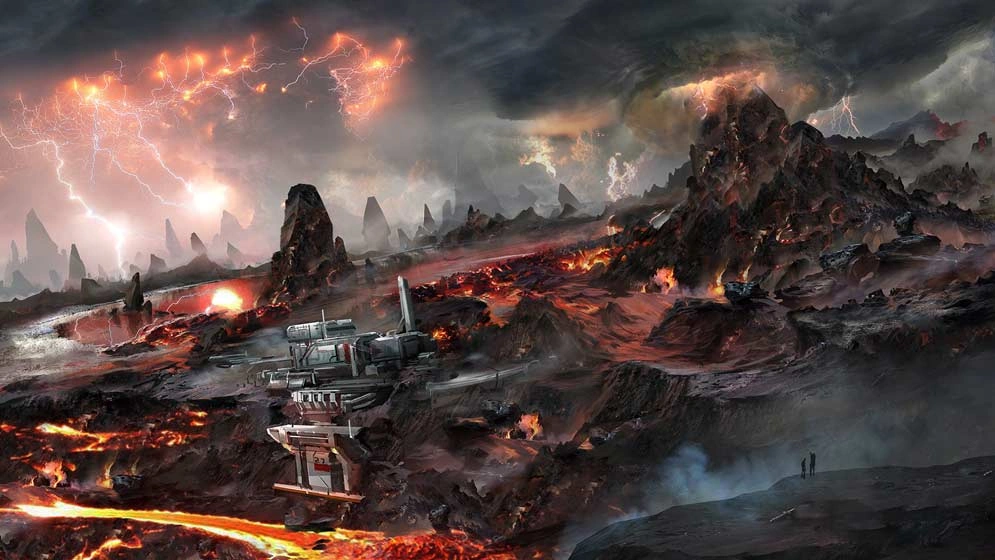
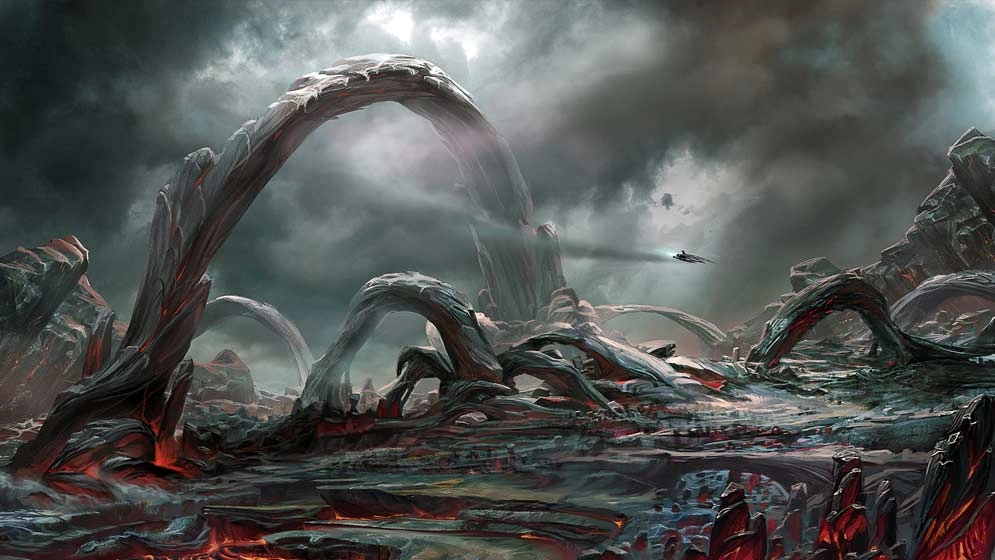
Fires, lava, burning sulfur, Scourge tendrils, electric ferrofluid, lightning bolts, electric discharges, toxic ooze, as well as other hazards found during exploration and missions, tend to be high-level hazards. Don't assume that the cool-looking animation is just a background element.
- Scourge tendrils tend to be very sporadic for electrical shock damage. Most don't harm Pathfinder Ryder and the ND1 Nomad at all but those that do hit hard with a Hazard Level 4. Occasionally, a Hazard Level 3 will be encountered but this is more of an anomaly than anything else.
- Electric ferrofluid is always a high level electric shock hazard and should be avoided at all costs. Occasionally electric ferrofluid will be a Hazard Level 3 but most of the time is a Hazard Level 4.
Visual Hazard Display[ | ]
Damage from hazards can change the color of the Heads Up Display (HUD).
 Cold hazards will add a bluish-green filter the screen color.
- Electrical hazards will add a purple filter to the screen.
- Heat hazards add a light orange filter to the screen.
- Radiation hazards will add a yellow filter to the screen.
- Toxic hazards will add a green filter to the screen.
The higher the level of hazard, the darker the coloring change to the HUD will appear to be. This coloring is sort of a moot point though. The highest levels of hazard where the coloring distinctly show up only happen before Life Support is depleted and then the coloring changes to red for health damage. As this process happens so fast with high hazard levels, it is difficult to see the coloring change in most circumstances.
Life Support[ | ]
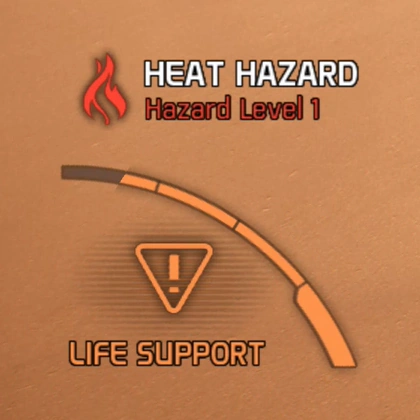
Any time that a hazard is encountered, Pathfinder Ryder and the ND1 Nomad automatically switch over to Life Support. A Life Support display in the lower left of the screen will list the Hazard Specific Icon, Hazard Type, Hazard Level, and the remaining Life Support that Pathfinder Ryder and the ND1 Nomad has available.
The Life Support icon changes based upon the amount of Life Support remaining.
- When Life Support is being used, LIFE SUPPORT will appear and the icon will be orange.
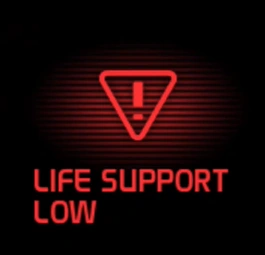
- When Life Support drops below 25% remaining, LIFE SUPPORT LOW will appear and the icon will flash red.
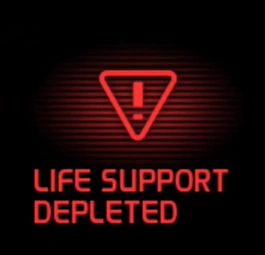
- When Life Support is gone, LIFE SUPPORT DEPLETED will appear and the icon will flash red.

Once Life Support is depleted for Pathfinder Ryder and the ND1 Nomad, shields will be damaged until gone, and then health will be damaged until death.
As a final warning that the Nomad is about to explode, when all Life Support is depleted and 10% of Nomad health is left, an audible pulsing buzzing sound will alert that death is imminent.
Mechanics[ | ]
Hazard type doesn't change the damage amount to Life Support. A Heat Level 1 hazard damages the same as a Cold Level 1 hazard. This same pattern follows for all hazard levels.
Pathfinder Ryder and the ND1 Nomad take damage to Life Support any time that an environmental hazard is encountered.
- While Pathfinder Ryder is inside the ND1 Nomad, Life Support lasts longer because a vehicle provides more protection. The exception to this rule is Level 4 hazards. Level 4 hazards will damage the ND1 Nomad just as quickly as they damage Pathfinder Ryder.
- Pathfinder Ryder has 1/10th the amount of Life Support time as the ND1 Nomad.
When Pathfinder Ryder exits the ND1 Nomad, Ryder's Life Support automatically takes over from where the ND1 Nomad's Life Support left off.
Depleted Life Support will replenish fairly quickly as long as Pathfinder Ryder and the ND1 Nomad stay in a SAFE CONDITION area.
- When Pathfinder Ryder enters the ND1 Nomad, Life Support is recharged for Pathfinder Ryder. It should be noted that the Life Support recharging process for Pathfinder Ryder is VERY slow in the Nomad compared to other recharging methods.
- Forward stations provide protection and will replenish Life Support for both Pathfinder Ryder and the ND1 Nomad.
As hazard level increases, the amount of time before Life Support is depleted decreases rapidly. Level 1 Heat hazard may take 60 minutes to fully deplete Life Support while Level 4 immediately depletes all Life Support and shields on contact with 1 additional second of contact killing Pathfinder Ryder and destroying the ND1 Nomad. Entering a lava pool is a Level 4 Heat Hazard.
- Pathfinder Ryder can slightly extend Life Support with each use of the consumable Backup Life Support.
- The ND1 Nomad can be upgraded with Defensive Fortification and Supplemental Life Support to give additional Health and Life Support protection.
Difficulty level influences how long hazards will take to deplete Life Support and how long until death occurs. The easier the gameplay, the longer the amount of time until Life Support fails. Once Life Support fails, health damage occurs until either Pathfinder Ryder dies or the ND1 Nomad explodes. Conversely, the harder the difficulty, the less time is available.
- Narrative difficulty is the same amount of Life Support and heath depletion time as Normal.
- Casual difficulty is the same amount of Life Support and heath depletion time as Normal.
- Normal difficulty is the standard amount of Life Support and heath depletion time.
- Hardcore difficulty decreases the amount of Life Support and heath depletion time to 75% of Normal.
- Insanity difficulty decreases the amount of Life Support and heath depletion time to 60% of Normal.
Life Support and health times in the tables below are displayed as Narrative, Casual, Normal, Hardcore, and Insanity.
| Time To Deplete Life Support - When Shields Flash (in seconds) | ||||||||||||||||||||
|---|---|---|---|---|---|---|---|---|---|---|---|---|---|---|---|---|---|---|---|---|
| Hazard | Pathfinder Ryder | Backup Life Support1 | ND1 Nomad | Supplemental Life Support2 | ||||||||||||||||
| Level 1 | 311 | 311 | 311 | 234 | 188 | 325 | 325 | 325 | 247 | 200 | 3116 | 3116 | 3116 | 2336 | 1869 | 3895 | 3895 | 3895 | 2921 | 2337 |
| Level 2 | 62 | 62 | 62 | 47 | 38 | 76 | 76 | 76 | 60 | 51 | 622 | 622 | 622 | 467 | 374 | 778 | 778 | 778 | 584 | 467 |
| Level 3 | 2 | 2 | 2 | 2 | 1 | 2 | 2 | 2 | 2 | 1 | 18 | 18 | 18 | 14 | 12 | 24 | 24 | 24 | 18 | 14 |
| Time To Deplete Health To Death - Starts when Life Support Ends and Shields Flash (in seconds) | |||||||||||||||
|---|---|---|---|---|---|---|---|---|---|---|---|---|---|---|---|
| Hazard | Pathfinder Ryder | ND1 Nomad | Defensive Fortification3 | ||||||||||||
| Level 1 | 47 | 47 | 47 | 35 | 28 | 748 | 748 | 748 | 561 | 449 | 935 | 935 | 935 | 701 | 561 |
| Level 2 | 22 | 22 | 22 | 16 | 12 | 299 | 299 | 299 | 224 | 179 | 374 | 374 | 374 | 281 | 224 |
| Level 3 | 12 | 12 | 12 | 8 | 7 | 149 | 149 | 149 | 112 | 89 | 186 | 186 | 186 | 140 | 112 |
1 Backup Life Support adds extra time to Life Support for Level 1 & Level 2 hazards. There is no change to Level 3 hazard time. The time numbers listed in the table are for a single use of the consumable while hazard damage is occurring.
2 Supplemental Life Support directly increases the Life Support of the ND1 Nomad for any difficulty. This upgrade increases the amount of time the Nomad can endure Life Support depleting conditions before taking health damage.
3 Defensive Fortification directly increases the health of the ND1 Nomad for any difficulty. This upgrade increases the amount of time the Nomad can endure health damage due to Life Support depleting conditions before death.
Hazard Levels and Values[ | ]
The displayed values for most hazards (and safe conditions) vary slightly within a hazard level. The onscreen display for a heat hazard may say Hazard Level 1 - TEMPERATURE 50.98°C in one location and Hazard Level 1 - TEMPERATURE 50.94°C in another. The displayed values for Level 4 hazards vary greatly depending on the nature of the hazard. The hazard value of a fire may show as TEMPERATURE 124.56°C, while the value of molten lava may be TEMPERATURE 1,231.97°C. These variations don't affect the impact of the hazard zone. The time to depletion of Life Support is the same for a given hazard level, regardless of the displayed value.
Hazard zones are fixed. The only thing that can change the hazard level of a location is the activation of a planet's primary vault. Planetary hazards that are affected by the vault will show a sharp change: the radiation on Eos goes from Level 3 to safe conditions after the radiation has cleared. However, Voeld's cold hazards are bugged and don't function correctly. See - Notes
Certain hazards are not affected by activation of the primary vault. These are localized hazards such as ferrofluid pools, fires, scourge tendrils, toxic sludge, etc.
Planets[ | ]
Planets that Pathfinder Ryder can visit each have their own environmental hazards prior to the activation of the Remnant vault. Once the vault is activated, the Hazard Levels will be removed.
| Planet | Detailed Hazard | Details | Vault Mission |
|---|---|---|---|
| Elaaden | Heat Hazard | Any location not in permanent deep shade or indoors will cause constant damage to Life Support. | Taming a Desert |
| Eos | Radiation | Any location outside of specially shielded areas will cause constant damage to Life Support. | A Better Beginning |
| H-047c | Radiation | Unlike other planets, the radiation on H-047c is high enough that Pathfinder Ryder can't leave the Nomad. Any time that the Nomad is outside of the protection of a shielded area, the Nomad takes constant damage to Life Support. | N/A |
| Havarl | N/A | Havarl doesn't have an environmental hazard. | A Dying Planet |
| Kadara | Toxic Environment | Unlike other planets, the damage to Life Support only occurs if Ryder enters a sulfur water pool. | Healing Kadara's Heart |
| Voeld | Cold Environment | Any location not heated or indoors will cause constant damage to Life Support. | Restoring a World |
Notes[ | ]
- H-047c has no vault so the Hazard Level can't be reduced.
- Unlike other planets, Voeld was supposed to have a partial reduction in Hazard Level and not a complete removal of the Hazard Level like other planets. It was supposed to change hazard levels up one tier - level 2's would become level 1's - but after Patch 1.05 something was broken with the hazard mechanics on Voeld. The hazard levels on Voeld don't change after activating the vault. It's not entirely clear why but sometimes the hazard level gets stuck on level 2 or level 1 or none at all. Save often on Voeld! If you encounter an issue like this, you can load a previous save and potentially make it go away.
- Detailed information about Life Support regen for Pathfinder Ryder can be tracked on the General Stats tab in the statistics menu.
- Detailed information about Life Support bonus for the Nomad can be tracked on the Nomad Stats tab in the statistics menu.
Gallery[ | ]
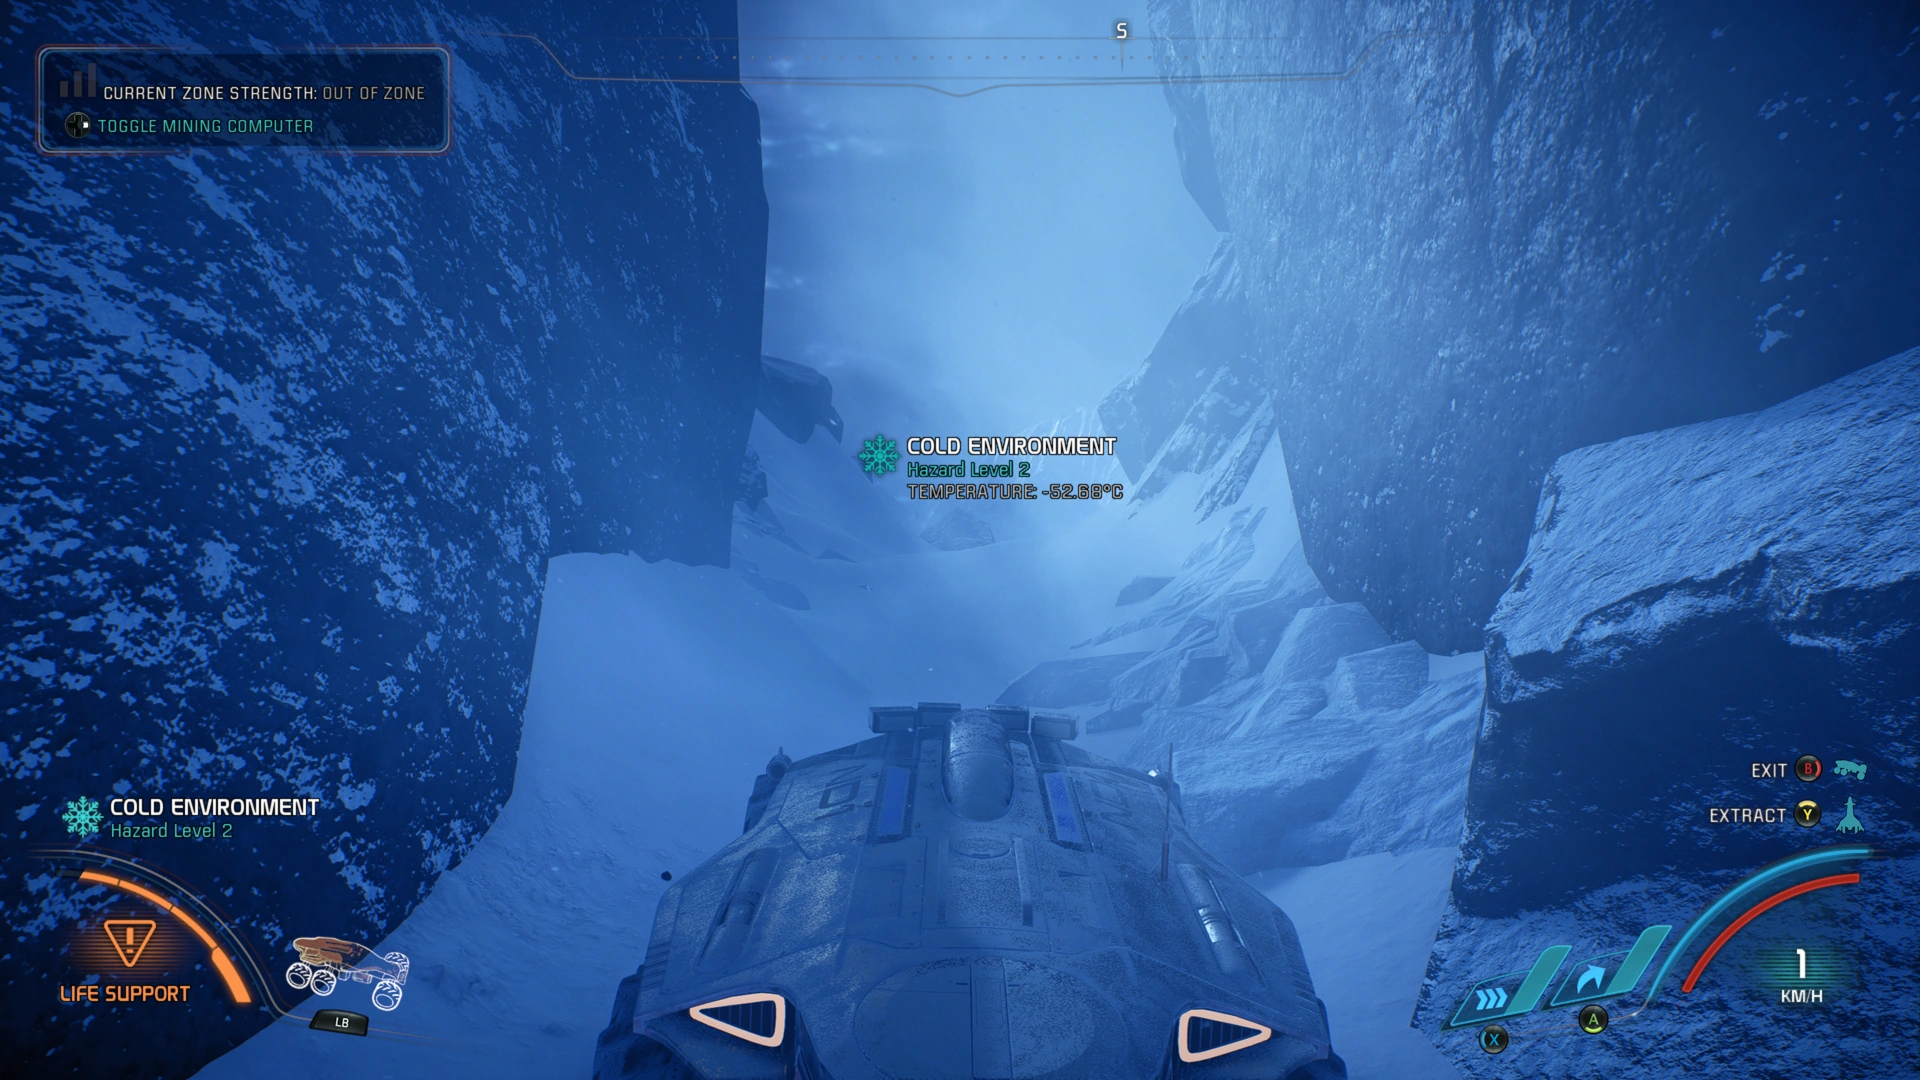
COLD ENVIRONMENT: Hazard Level 2
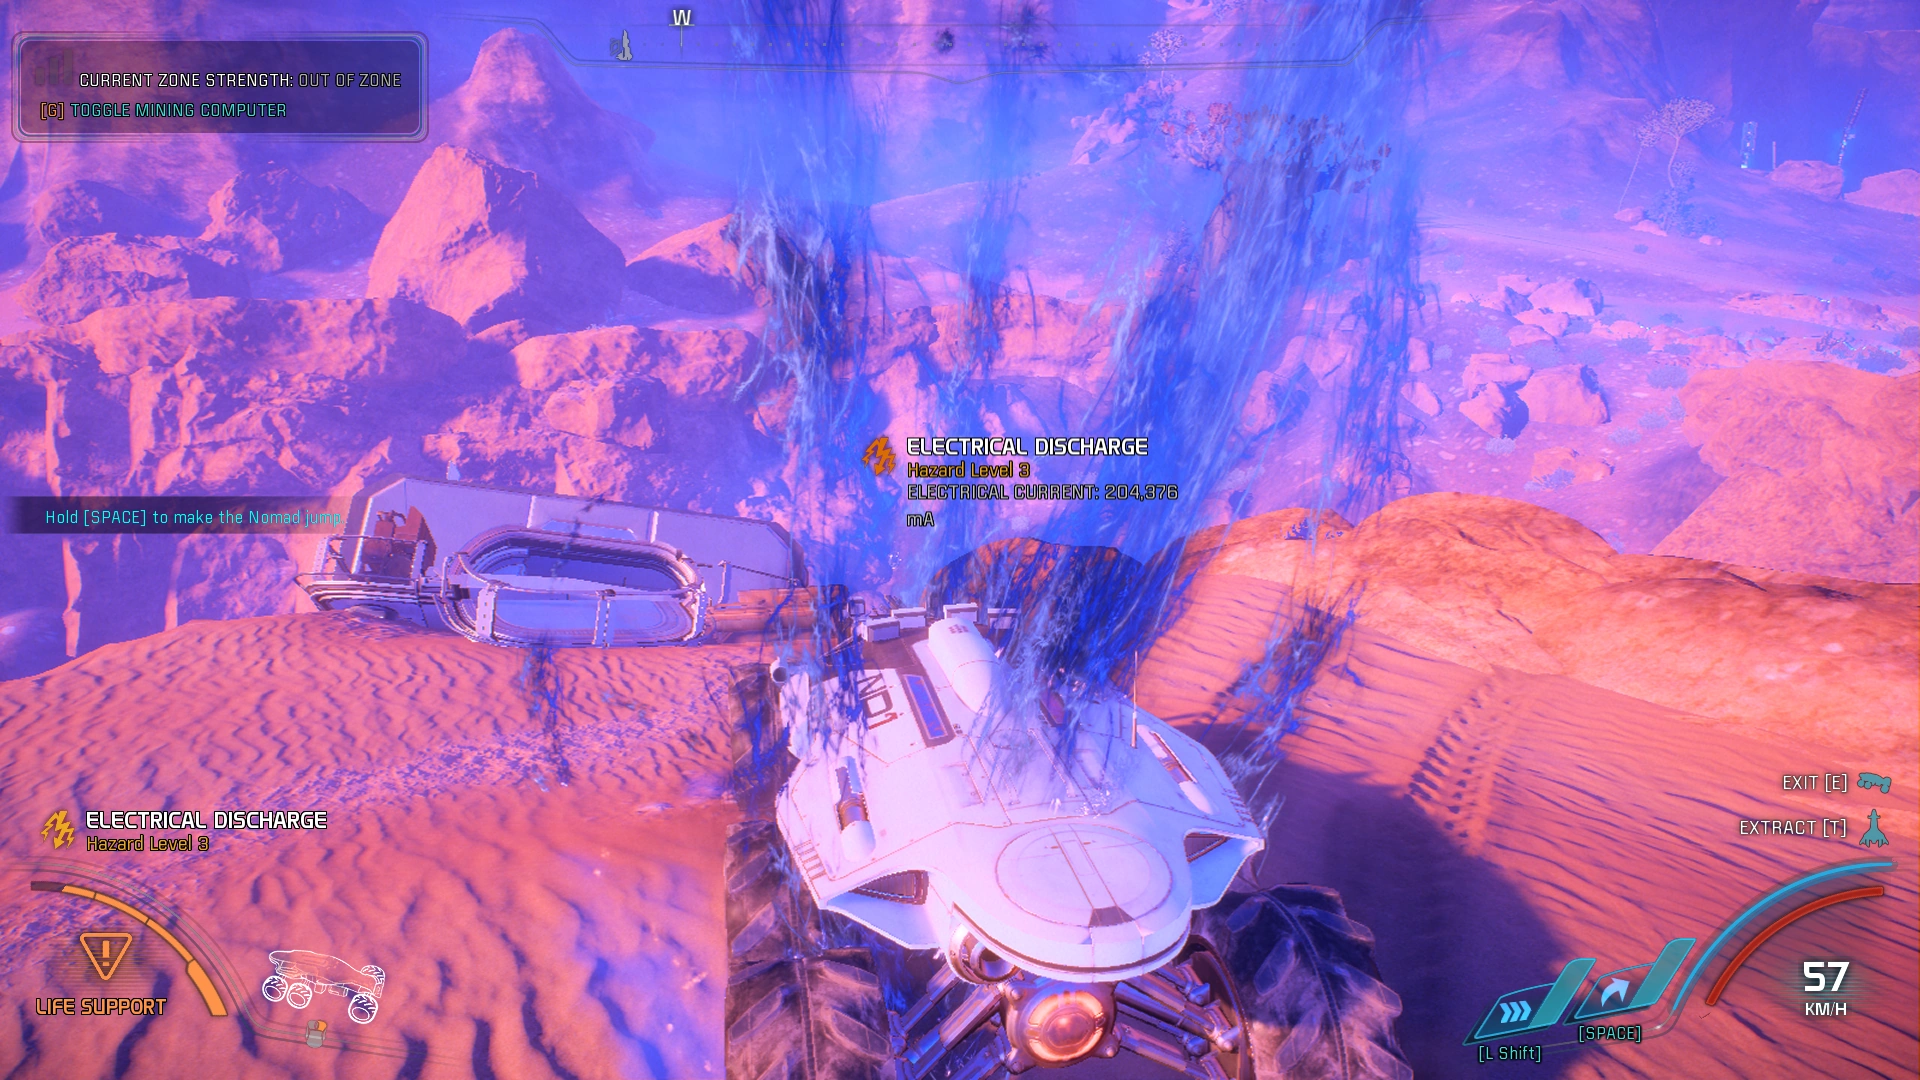
ELECTRICAL DISCHARGE: Hazard Level 3
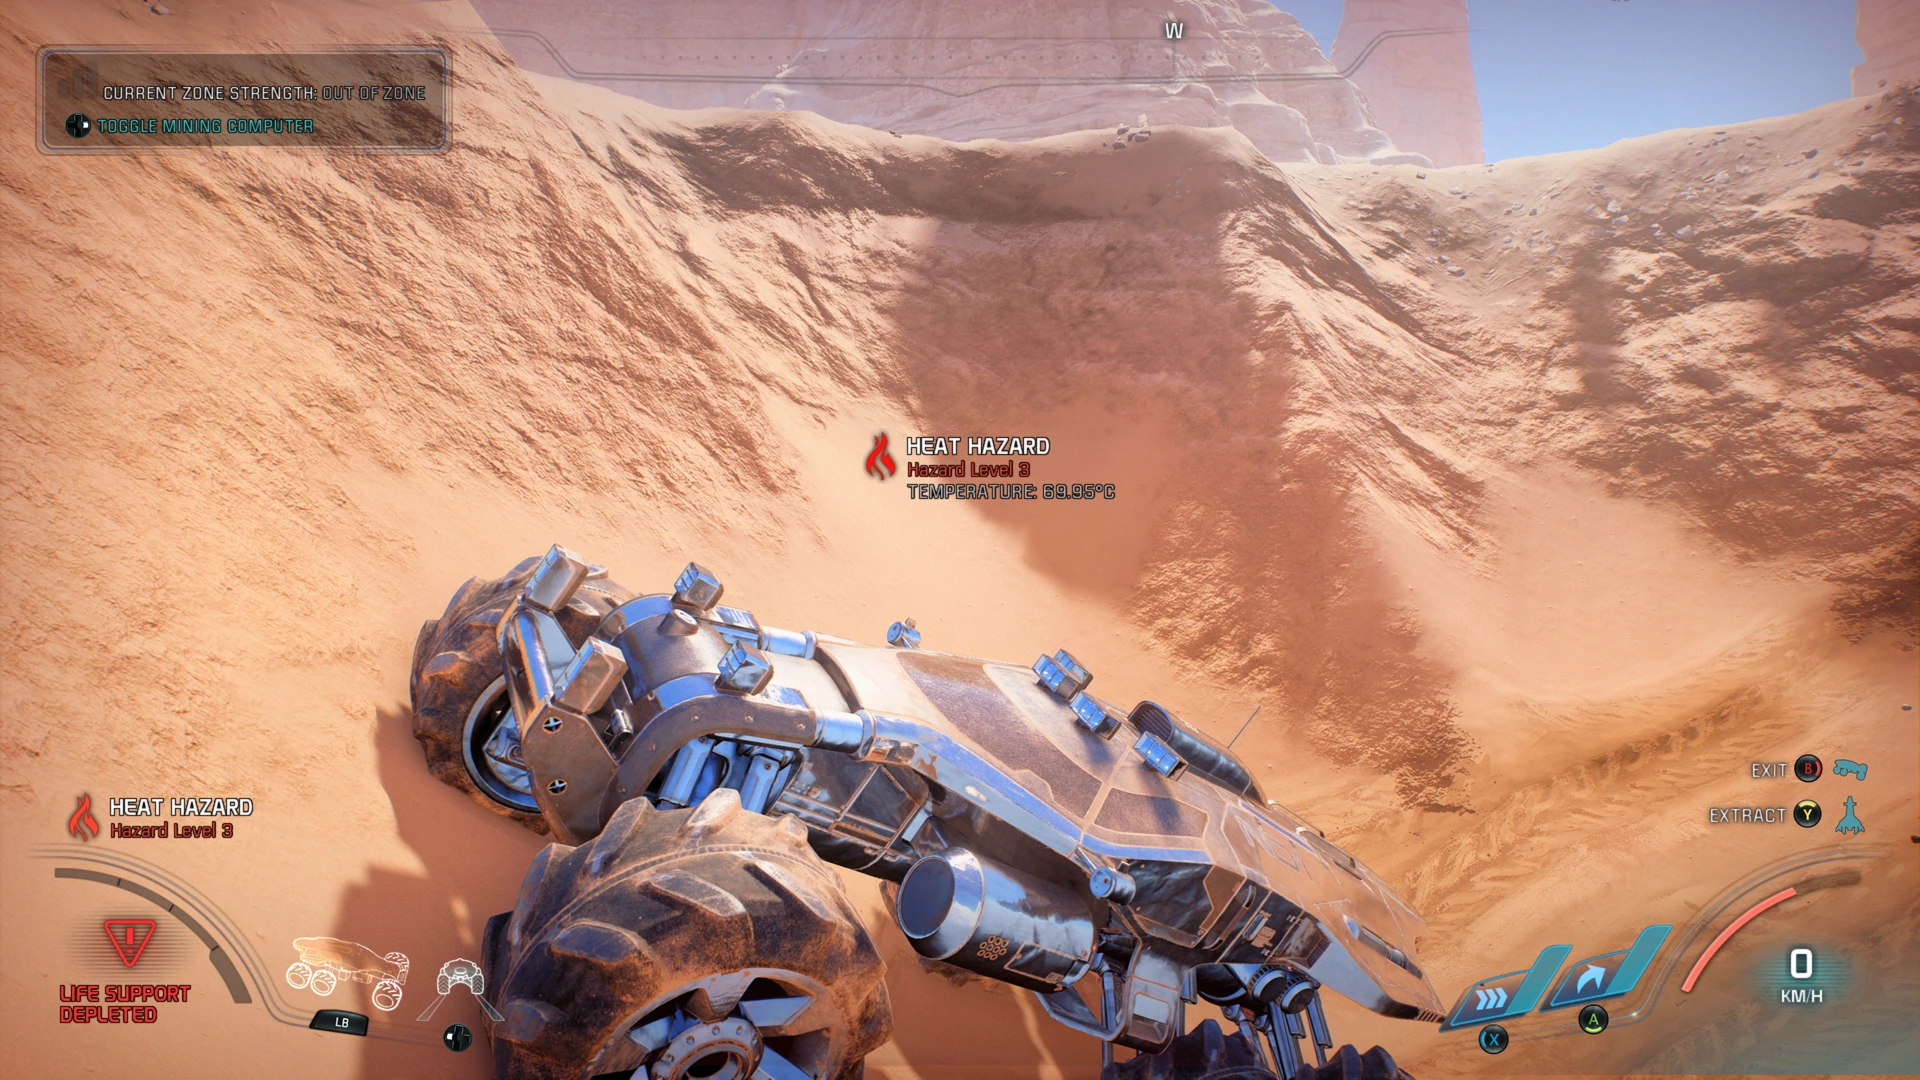
HEAT HAZARD: Hazard Level 3
RADIATION: Hazard Level 3
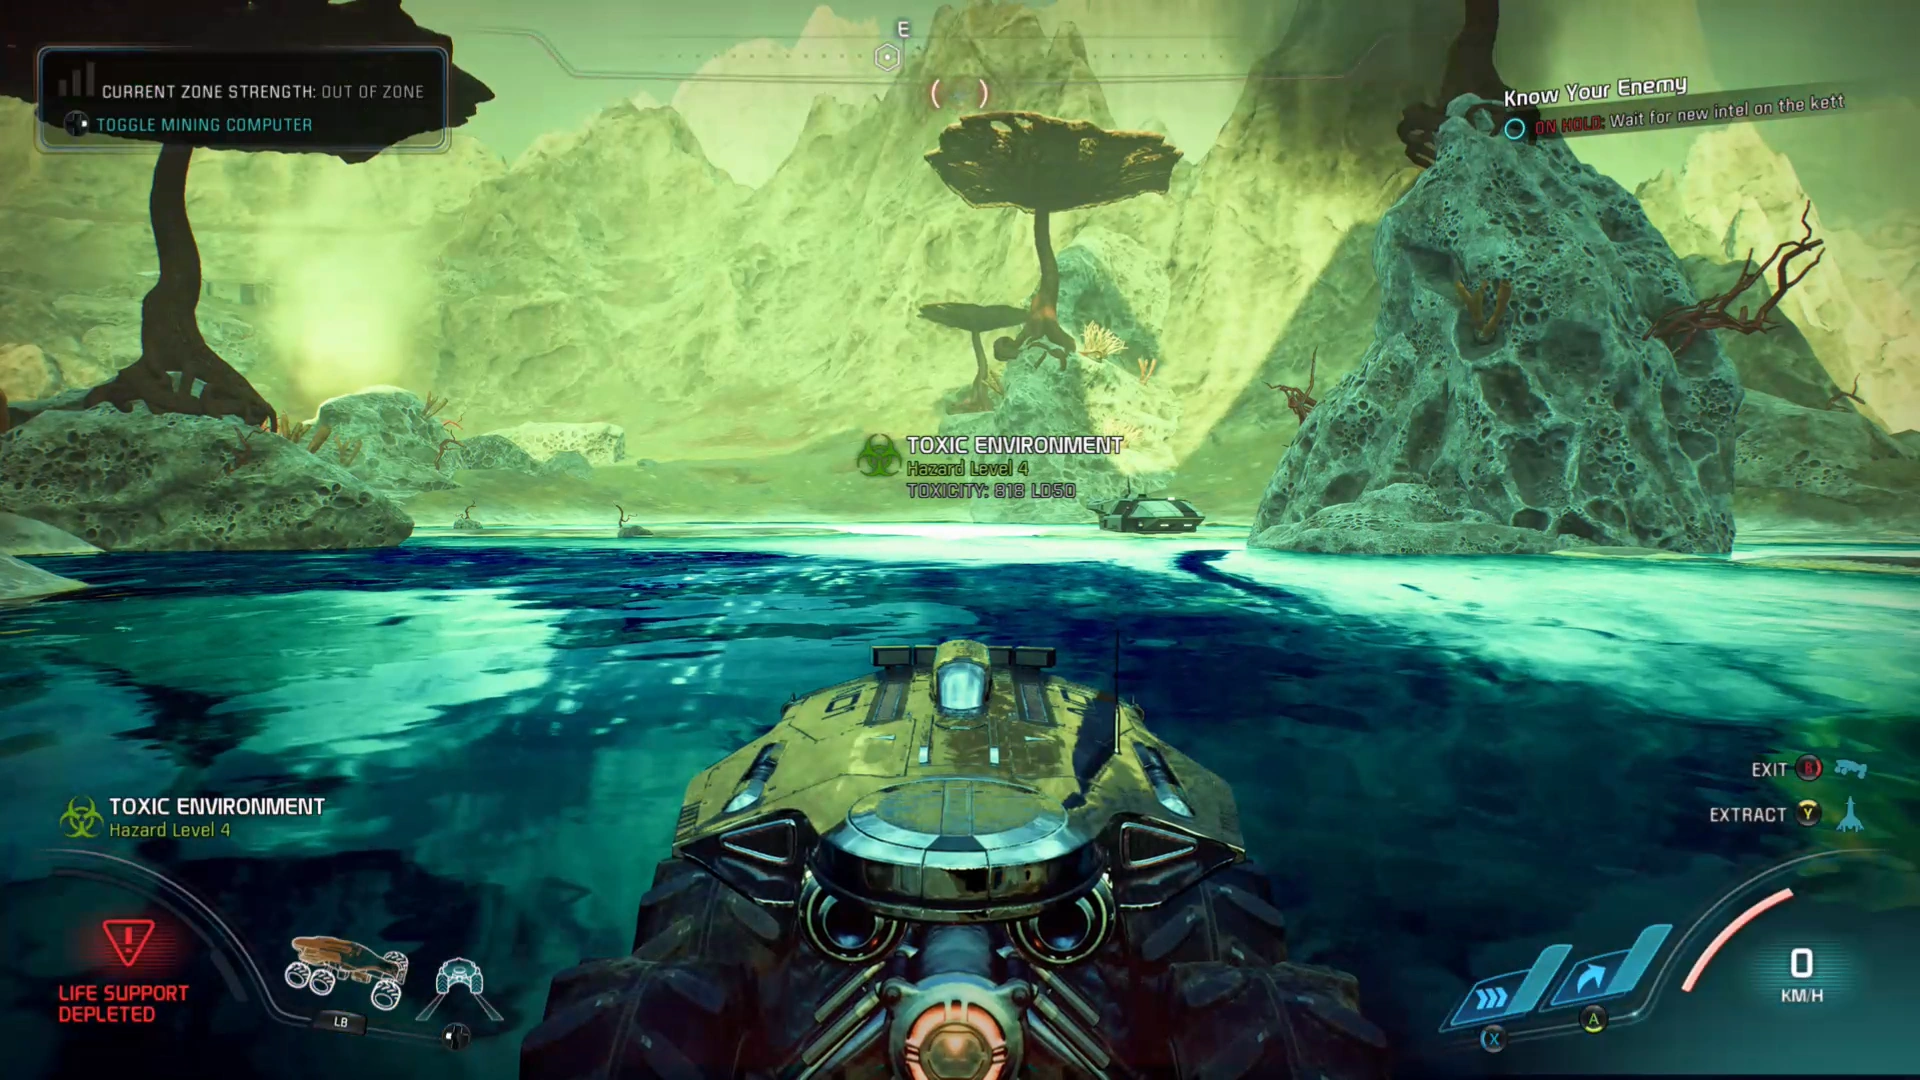
TOXIC ENVIRONMENT: Hazard Level 4
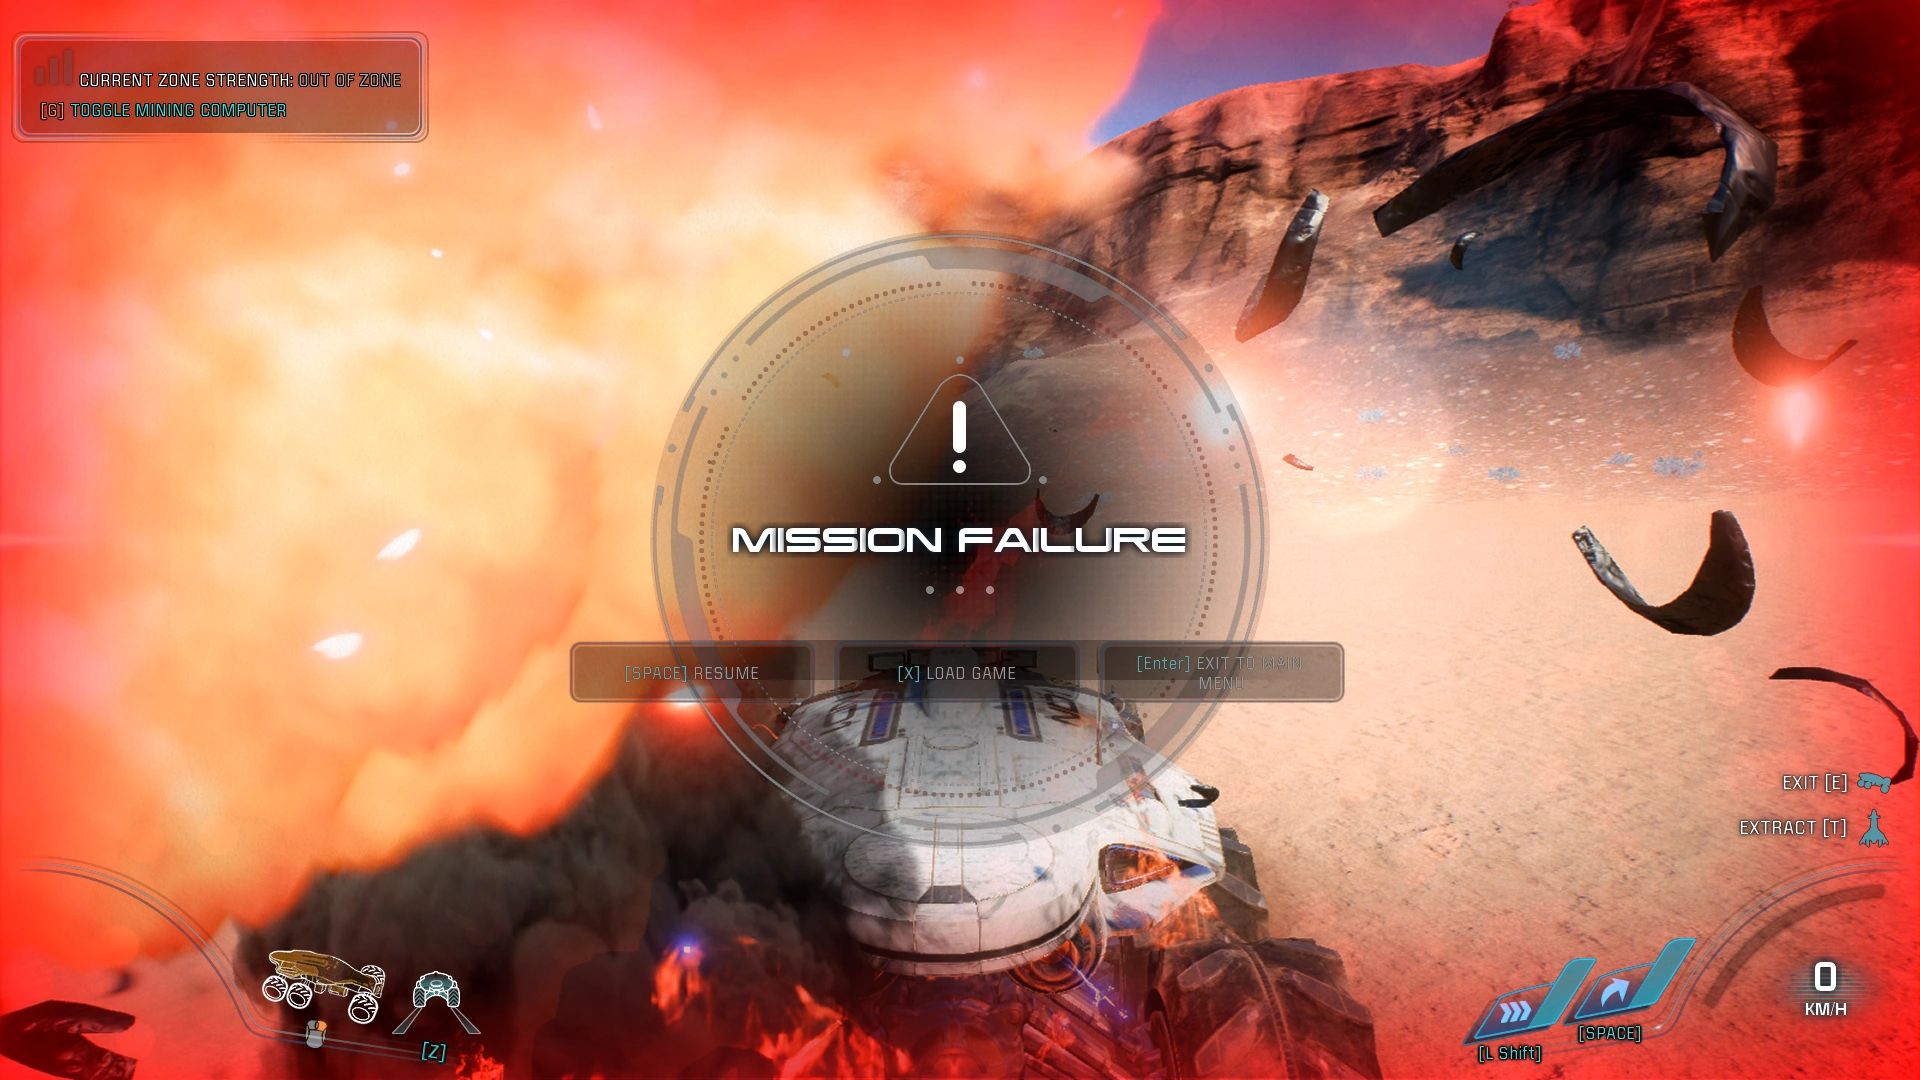
The Nomad Isn't Invulnerable