| Liam Kosta: All In | |
|---|---|
| |
| Type | Allies and relationships |
| Starting Location | Tempest |
| Mission Location | Liam's Scavenger Debris Field, Sephesa System |
| Start | email from Liam |
| End | Liam Kosta |
| Previous | Liam Kosta: Day out on Aya |
| Next | Liam Kosta: Something for the Neighbors |
Liam Kosta: All In is an allies and relationships mission and Liam's loyalty mission. It is acquired by returning to the Tempest after Liam Kosta: Day out on Aya.
Description[ | ]
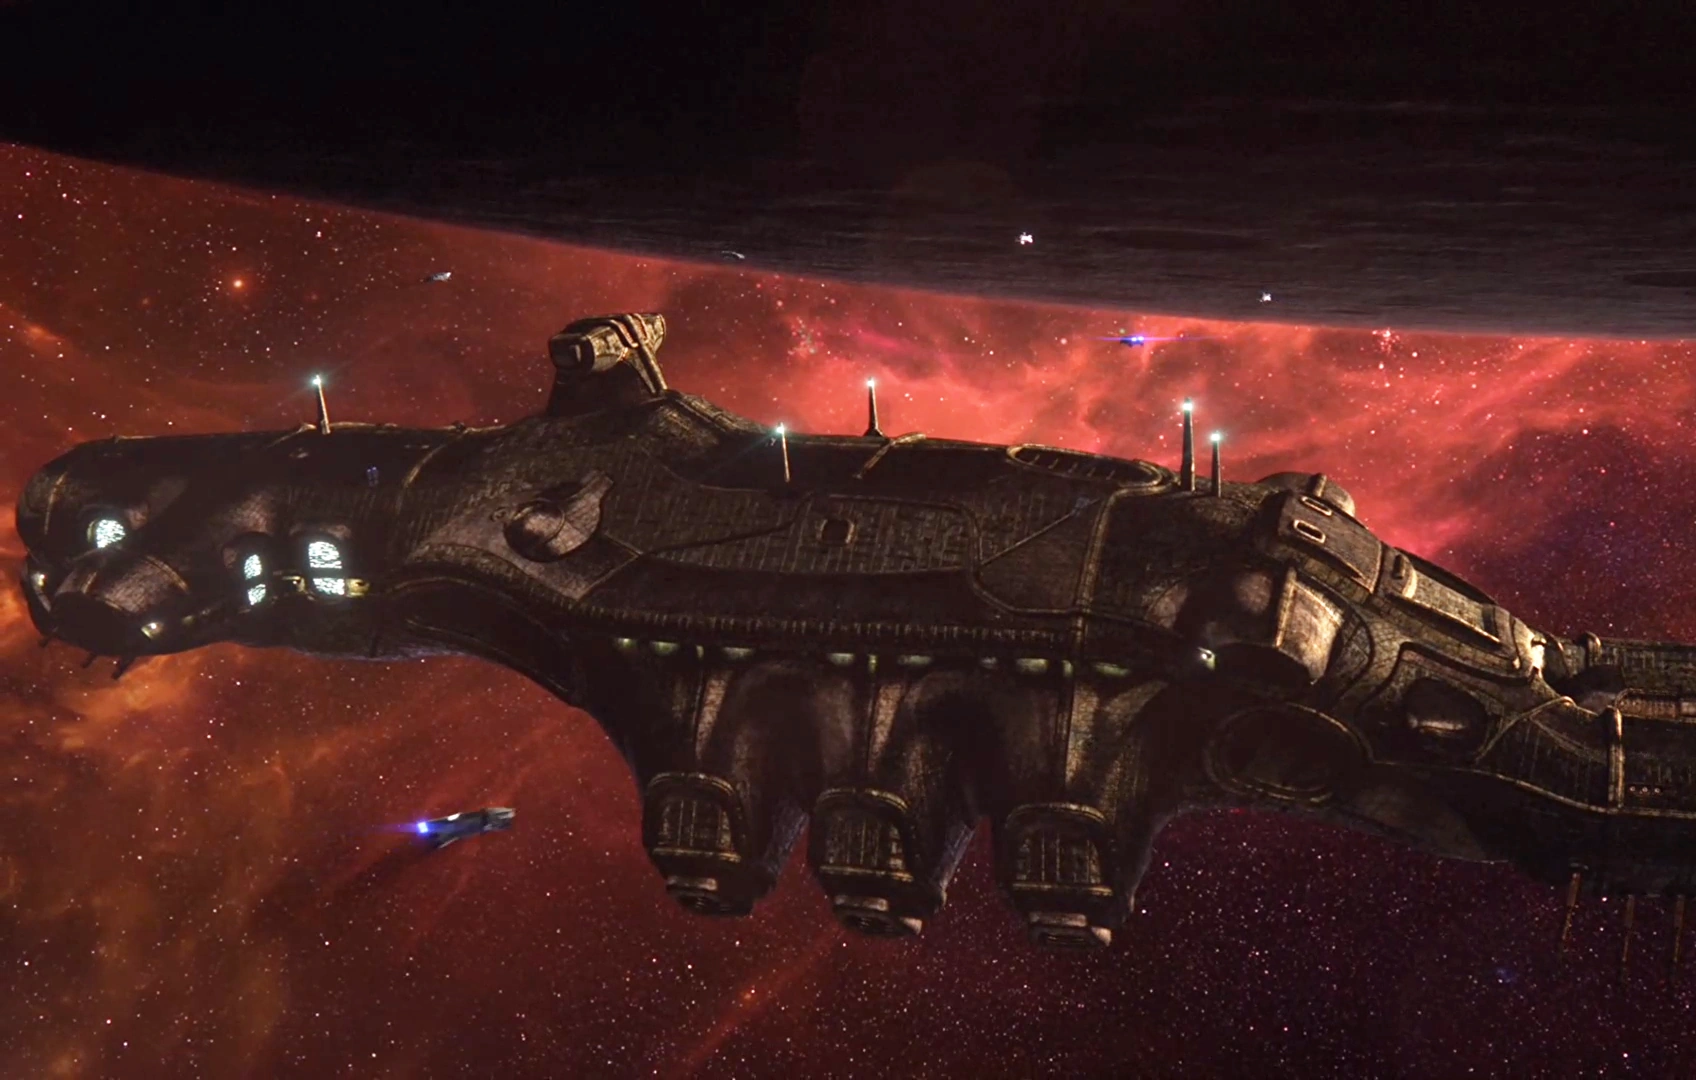
Liam has asked for help with a rescue. His angaran contact Verand has likely been captured by scavenging pirates. To make it worse, Liam gave Verand Nexus navpoints and data. He trusts her, but if the pirates extract the information, it puts the Initiative at risk. They are somewhere in the debris field near Kearnos II, in the Sephesa System.
Liam found the pirates, but now you're in the belly of a kett ship, and the rest of his plan is sketchy. Find your way through the ship, secure any captives, and make sure the threat doesn't continue.
Objectives[ | ]
- Read email from Liam
- Speak to Liam on the Tempest
- Go to the debris field in the Sephesa System
- Sweep the cargo bay for enemies
- Use the comm to find out who's in charge
- Fight to the cargo bay exit
- Search the ship for captives
- Find and scan the control hub
- Activate consoles to give the engineers access (0/2)
- Fight through to the captives
- Find a way out of the inverted cargo bay
- Talk to the captives through the comm
- Send power to the bulkhead door
- Stop Calot from being a threat
- Find an access point to hack Calot's shield
- Defend the access point until hack is complete
- Signal for evac
- Debrief on the Tempest
Walkthrough[ | ]
For a detailed walkthrough of this mission, see Liam Kosta: All In Walkthrough.
Notes[ | ]
There are two ways the debrief can go: Send Verand on her way with the other rescued captives or instruct August Bradley to "be sure Verand doesn't go too far." Liam will not be pleased if Ryder decides to detain his contact. He makes a strong argument for it having been a bad decision. Despite what he says during the debrief, this decision will not end a romance with Liam.
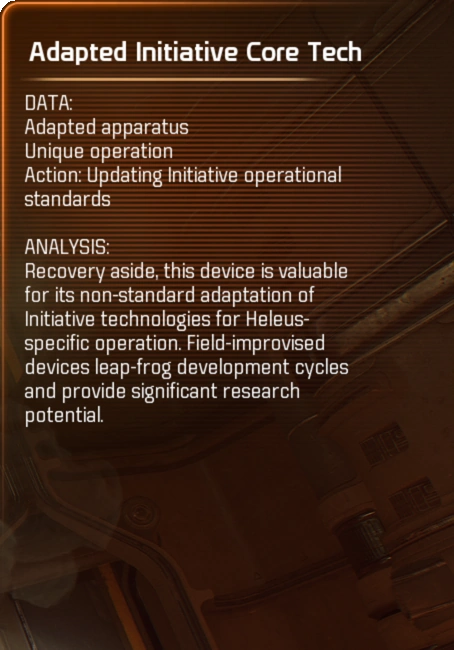
The Adapted Particle Infuser found during this mission is an easter egg of sorts. When scanned, SAM gives an uncharacteristically less than detailed analysis that is slightly sarcastic in nature.
There is an interesting find after leaving the cargo bay during the beginning of the mission as you advance forward. There will be a large crate on the floor in the corridor that you can jump up on. If you look up above your head, there will be a door that you can open and a Body will fall out with an interaction prompt. Sometimes the body stays stuck on the ledge inside, sometimes it falls down. If you interact with the body, there will be a discussion about it being an angaran resistance member. If Jaal Ama Darav is in the squad, he will give a little bit more detail about the person being from Voeld. Either way, as long as you interacted with the body, you can go to Voeld after this mission and speak to Anjik Do Xeel in the Angaran Resistance Base. There will be a conversation choice about the Body found in Calot's Ship. Select this choice and she will tell you that this was Sunita and some of the backstory on her. There is no reward and nothing appears to change for completing this action.
Research Opportunities[ | ]
There are a number of items that can be scanned for Research Data (RD) on this mission. +150 Milky Way RD, +100 Heleus RD.
This mission has potential issues with scanning items. As this mission returns Ryder to the same areas but changes the perspective, areas open up and close. Items are added, moved around, and removed each time this happens. Most items can only be successfully scanned during specific timeframes to award RD. The items listed below will appear orange for a scan.
Use the comm to find out who's in charge
- Scannable objects on the Cargo Bay lower level
- Scannable objects on the Cargo Bay upper level
Search the ship for captives:
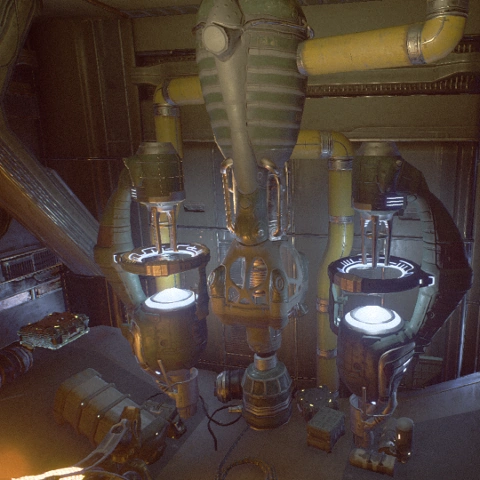
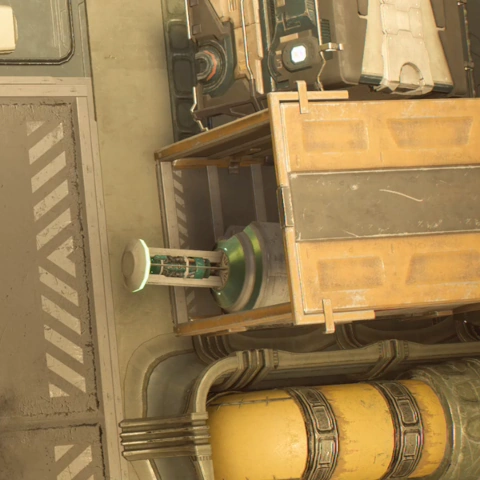
- +100 Milky Way RD - Adapted Initiative Core Tech (AICT)
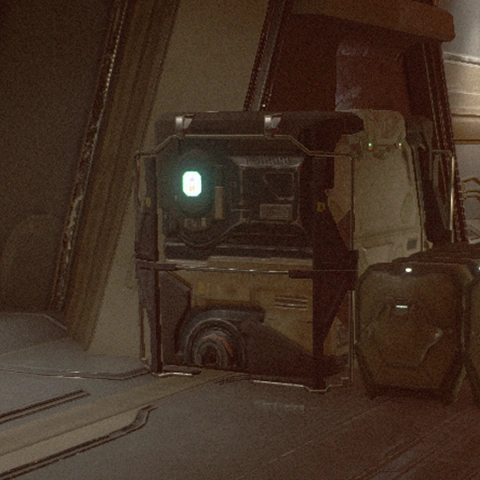
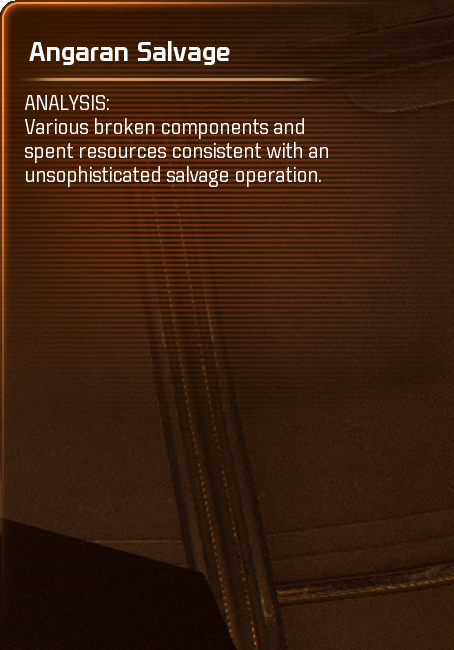
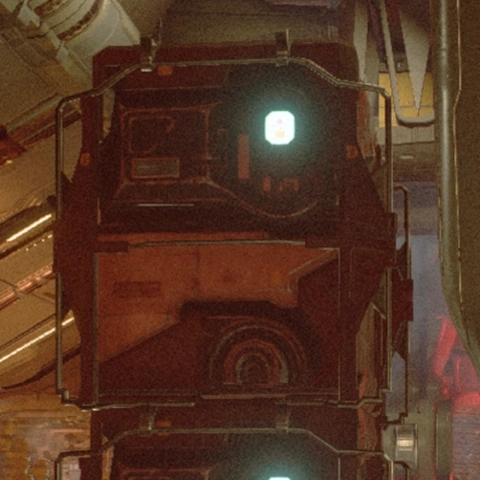
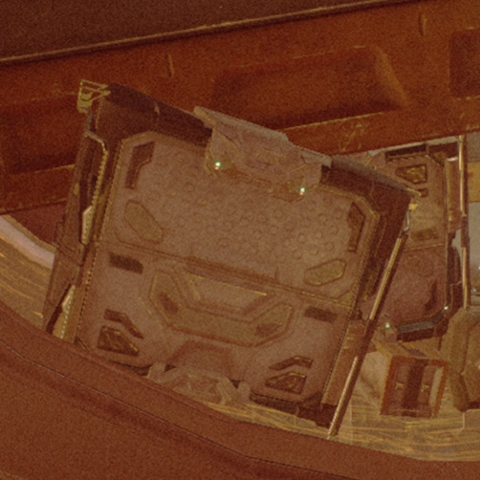
- +10 Heleus RD - Angaran Salvage x2 (+20 Heleus RD Total)
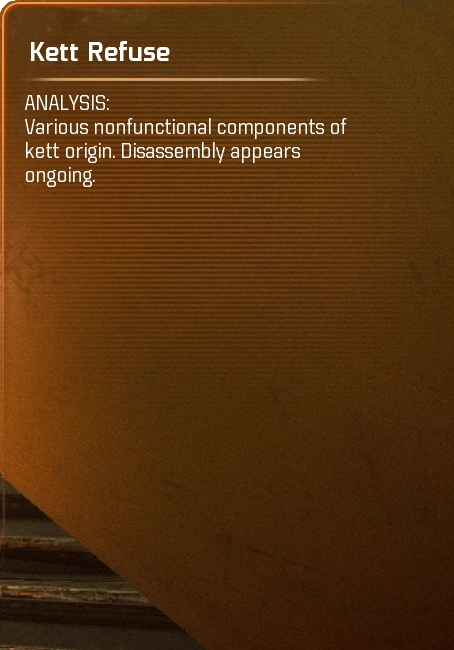
- +10 Heleus RD - Kett Refuse
Find a way out of the inverted cargo bay:
- +10 Heleus RD - Cargo Crane
Fight through to the captives:
- +10 Heleus RD
Talk to the captives through the comm:
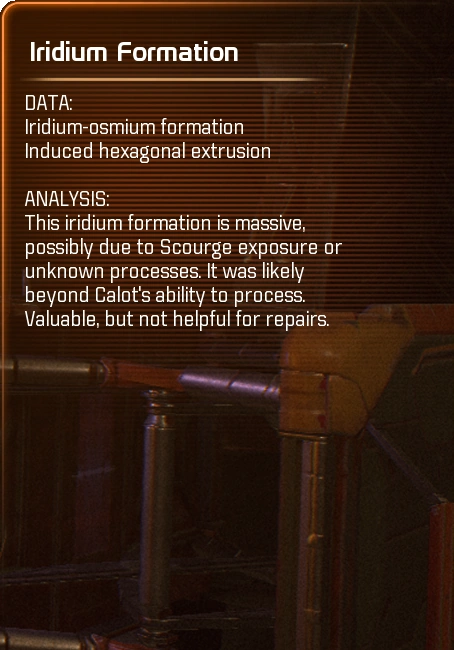
- +10 Milky Way RD - Iridium Formation
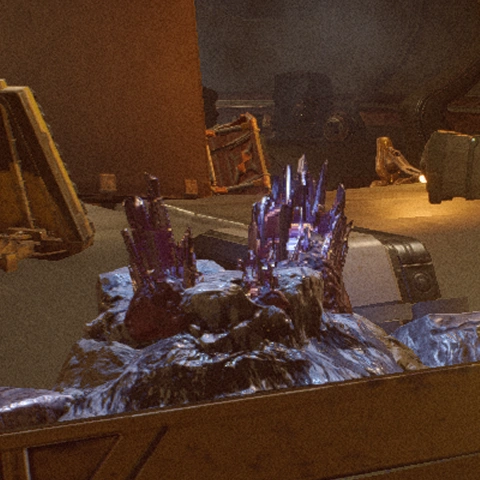
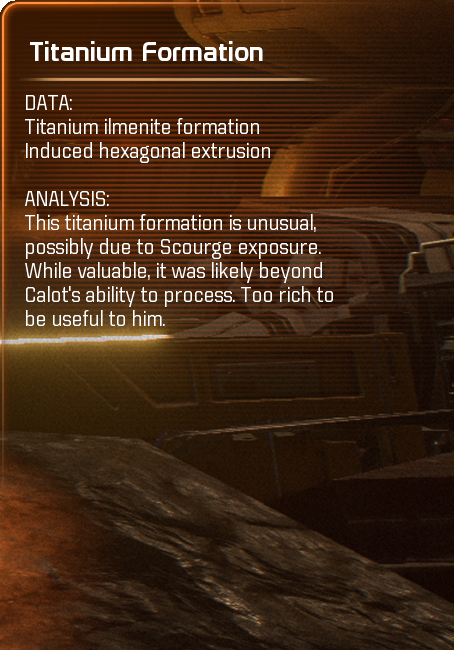
- +10 Milky Way RD - Titanium Formation
- 0 RD - Multiple Solar Heaters
- 0 RD - Multiple Comm Terminals
Signal for evac:
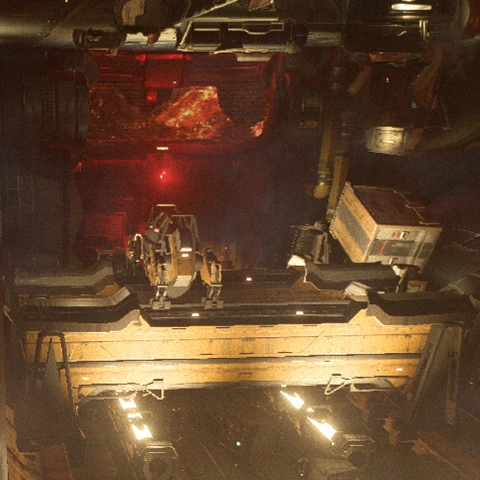
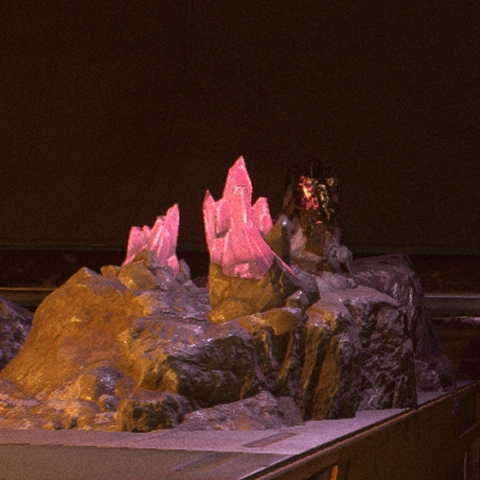
Gallery[ | ]

Adapted Particle Infuser

A.P.I. Scan

AICT

AICT Scan
Angaran Salvage 1
A.S. 1 Scan
Angaran Salvage 2
A.S. 2 Scan
Angaran Salvage 3
A.S. 3 Scan
Angaran Salvage 4
A.S. 4 Scan
Angaran Salvage 5
A.S. 5 Scan
Cargo Crane
C.C. Scan
Derelict Shuttle
D.S. Scan
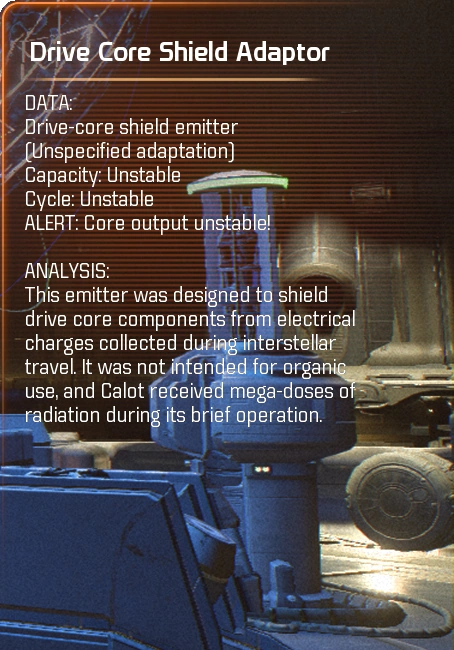
Drive Core Shield Adaptor
D.C.S.A. Scan
Iridium Formation
I.F. Scan
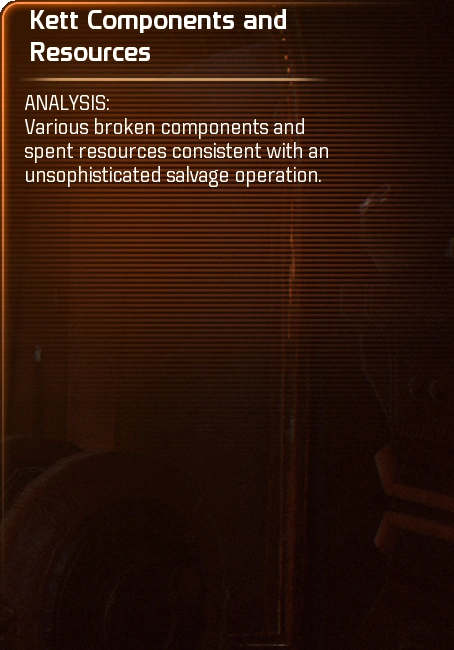
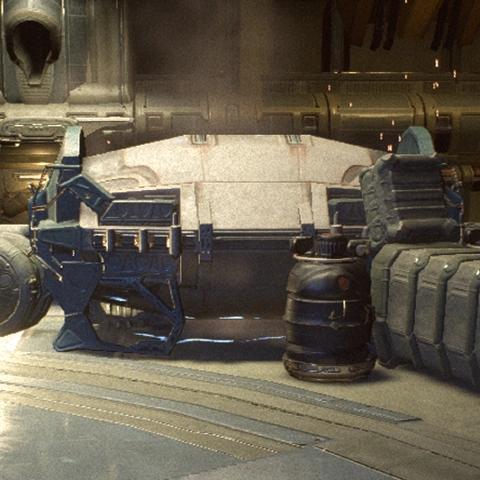
Kett Components and Resources
K.C.R Scan
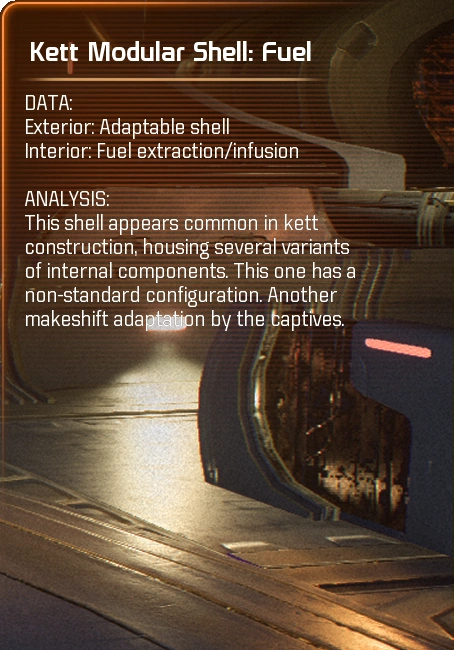
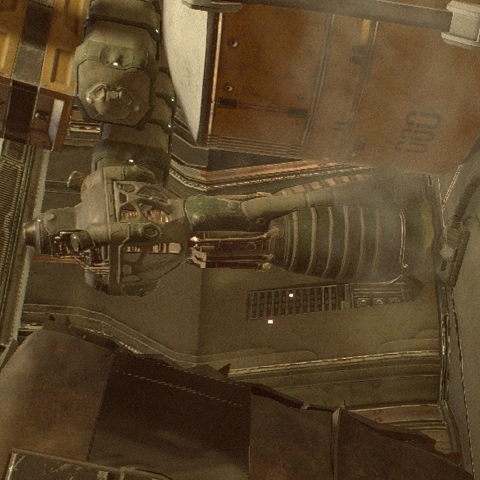
Kett Modular Shell: Fuel
K.M.S: F. Scan
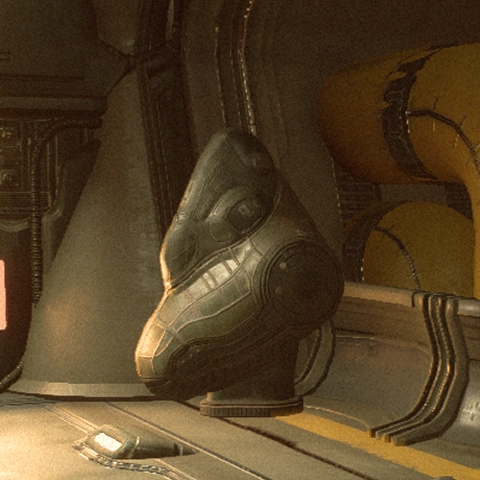
Kett Refuse
K.R. Scan
Kett Salvage
K.S. Scan
Titanium Formation
T.F. Scan


Rewards[ | ]
- +1330 XP
- Liam's Rank 6 Skills unlocked
Lore[ | ]
The following terminal entries can only be found during this mission.
Terminal entries[ | ]
- Data override: Kill record:
- Data override: Trade record:
- Data Storage: Talon Operational Override: Partial
- Navigation: Talon Operational Override: Calot Gurting
- Record of salvage: Addendum: Entry 453
- Record of salvage: Addendum: Entry 454
- Systems: Talon Operational Override: Calot Gurting
- Vessel Regarikas III Arrival Log: Heleus
- Vessel Regarikas III Restart Report
Achievements and trophies[ | ]
The following achievements and trophies can be earned for completing this mission: